Crochet Flat Slip Stitch Join Photo Tutorial

If you want to know how to slip stitch granny squares together, the crochet flat slip stitch join is just what you need to learn!
The slip stitch crochet join is a joining method often used for joining granny squares with slip stitches, it’s an alternative to the join as you go method, single crochet join and whip stitches.
You can also use the crochet flat slip stitch join to assemble other crochet pieces together.
The slip stitch crochet join uses slip stitches that are worked through the two pieces you are assembling to join the pieces together.
Learn how to crochet Flat Slip Stitch Join with this photo tutorial.
Abbreviations
- sl st – slip stitch
Instructions
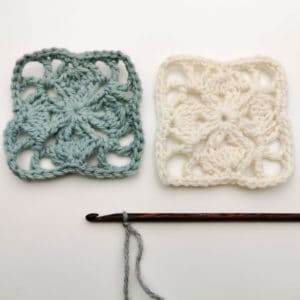
Make a slipknot before you start.
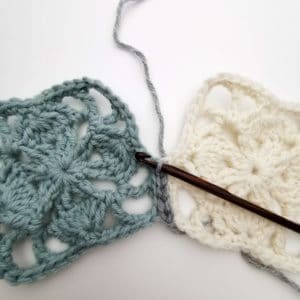
Insert hook in the back loop of the corner stitch on the left square.
Insert crochet hook through the back loop of the corner stitch on the right square. Make sure your yarn is behind your work at all times.
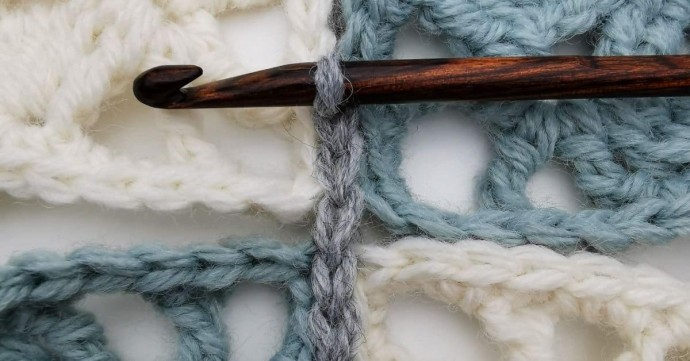
Pull through both loops, making the first slip stitch (you can’t really see the first slip stitch on the photo, it’s behind the hook).
Go through back loop of the next square on left side.
Go through back loop of the next square on the right side. Notice working yarn is behind.
Yarn over and pull through all loops.
Repeat steps from the previous 3 steps in the next stitches.
Continue to another pair of granny squares.In the photo you see the next 2 squares placed, ready to continue without cutting yarn.
When you finish your flat crochet join, weave in any yarn ends with a needle.


