Yarn Over Slip Crochet Stitch Photo Tutorial

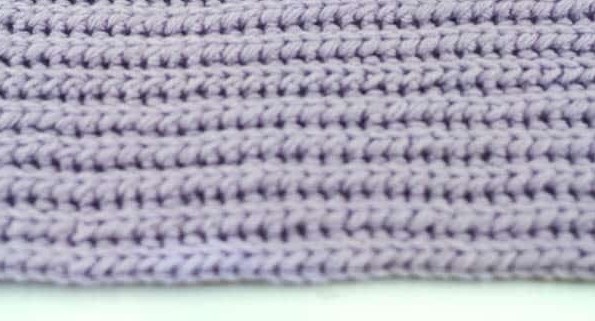
It is always fun to learn new stitches and this stitch is a favorite of mine. The yarn over slip stitch (yoslst) also know as the Half Double Slip stitch is a really great way to get the look of a knit without actually knitting.
By working this stitch in the back loops you get a texture that resembles alternating knit and purl stitches when knitting. I just love being able to get the look of knit without having to learn a new craft.
Learn how to crochet the Yarn Over Slip Stitch with this photo tutorial.
Materials
- Size 4 Weight Yarn 23-160 yds depending on sample size
- Size H Crochet Hook
- Yarn Needle
- Scissors
Abbreviations
- Ch – Chain
- Sc – Single Crochet
- YOST – Yarn Over Slip Stitch
- YO – Yarn Over
- BLO – Back Loops Only
- R – Row
- St(s) – Stitch(es)
Gauge
Gauge is determined by using the Single Rib Stitch.
8 Sts = 2 inches
9 rows = 2 inches
How to do a Yarn Over Slip Stitch
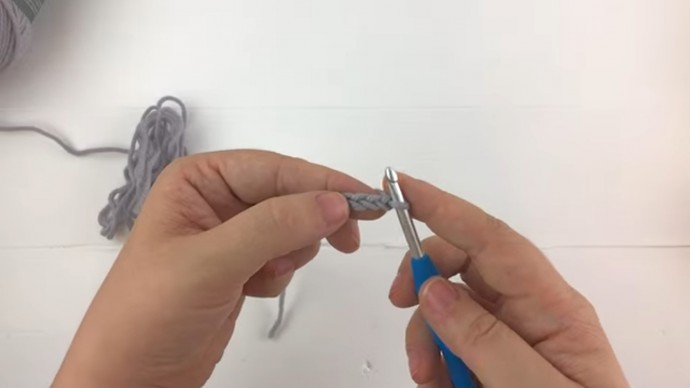
YOST – Yarn over the hook, insert the hook into the next stitch, Yarn Over and pull the loop through the stitch. (You will have three loops on your hook) Pull the first loop through the second and third loop on the hook. Your stitch is complete.
I almost always work my YOST in the Back Loop Only so it creates a knit like rib texture.
Yarn Over Slip Stitch Pattern
When working the Yarn Over Slip Stitch can start with any number of chains. Please note that I do not count my turning chain as a stitch.
- For the Large (Blanket) 12 inch Swatch we will chain 52.
- For the Medium (Book) 8 inch Swatch we will chain 30.
- For the Small (Block) 4 inch swatch we will chain 20.
Ch 20, 30, or 52 depending on the size sample swatch you would like to make.
R1: YOST in the second Ch from the hook and ever Ch across.
R2-?: Ch1, turn, YOST in the BLO in every stitch across.
You will continue repeating Row 2 until your project is as big as you would like it to be.
To make a 12 inch square work until you have a total of 54 rows.
To make a 8 inch square work until you have a total of 36 rows.
To make a 4 inch square work until you have a total of 18 rows.
Single Crochet Border
Ch1, working down the side of the rows, Sc into the side of each row, Ch1, turn at the corner, Sc in the bottom of each St across, Ch1, turn at the corner, working down the side of the rows, Sc into the side of each row, Ch1 , turn at the corner, Sc in the top of each St. Ch1 slip stitch to the first Sc of the border row.
Now your sample square is complete.


