Lacy Star Stitch Crochet Tutorial


The Lacy Star Stitch is a beautiful crochet stitch that creates a lacy, textured fabric with a star-like design. It's perfect for making lightweight and airy projects like scarves, shawls, and blankets. Here's a step-by-step guide on how to crochet the Lacy Star Stitch.
What makes this stitch so great is the fact that it’s easy. It has a complex look, but you’ll only need to memorize and repeat two rows.
This crochet stitch works well for crochet project you’d want an open lace stitch for, like a crochet scarf, a beautiful garment for your closet & summer outfits, a crocheted bag or crocheted shawls.
To start any project with this stitch we will need to make a chain with a multiple of 6 + 2. For this example I started with a foundation chain of 26 chains.
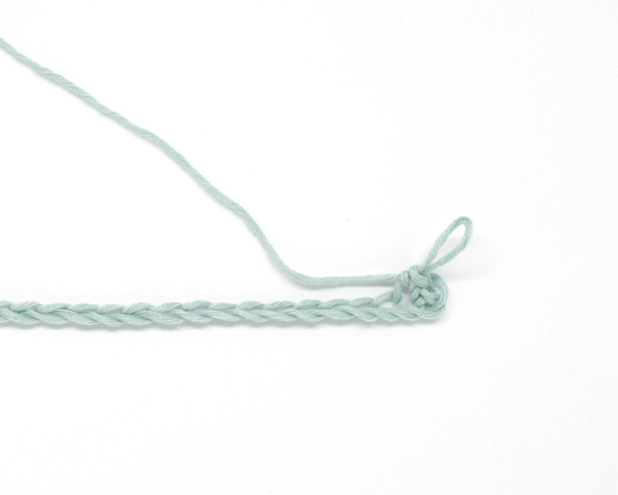
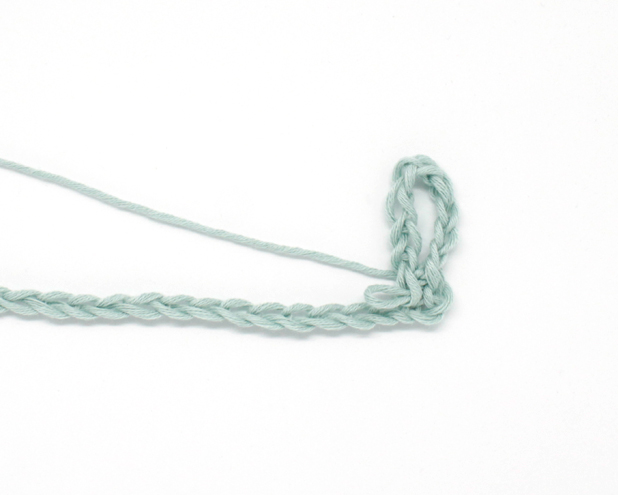
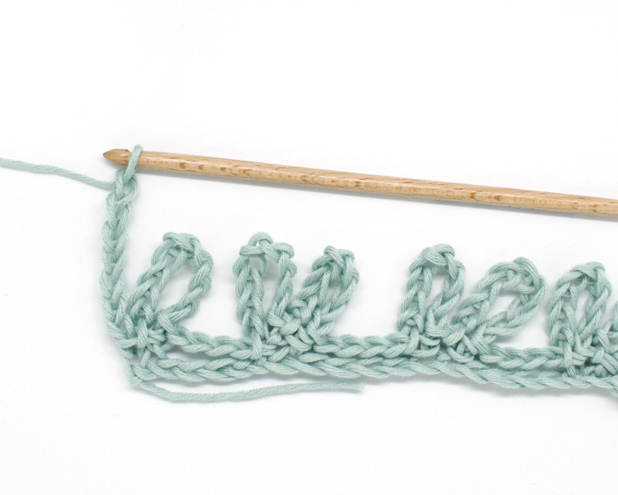
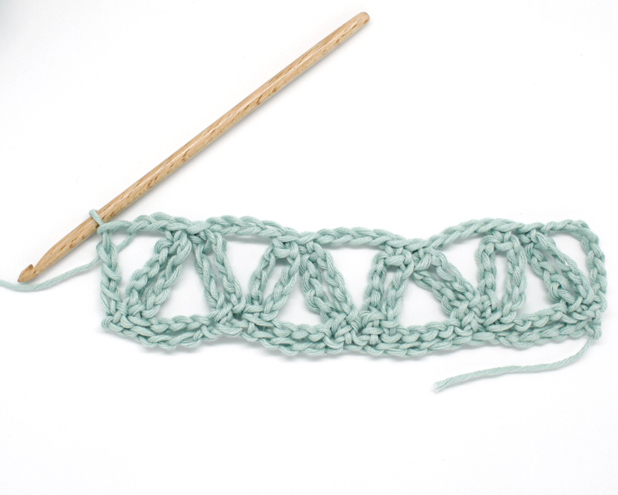
Row 1: chain 1. In the third chain from your hook *work 1 single crochet, chain 9, close the chains in a loop with a slip stitch into the single crochet.
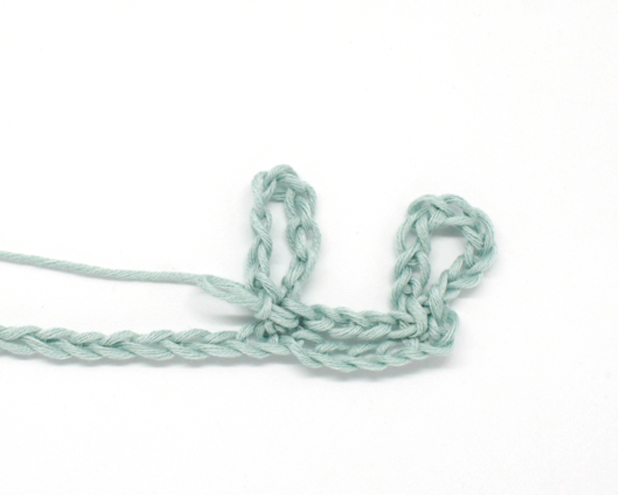
From this point on chain 4, skip 4 stitches, and work 1 single crochet in the next stitch. Chain 9, and close the chains in a loop with a slip stitch into the single crochet*.
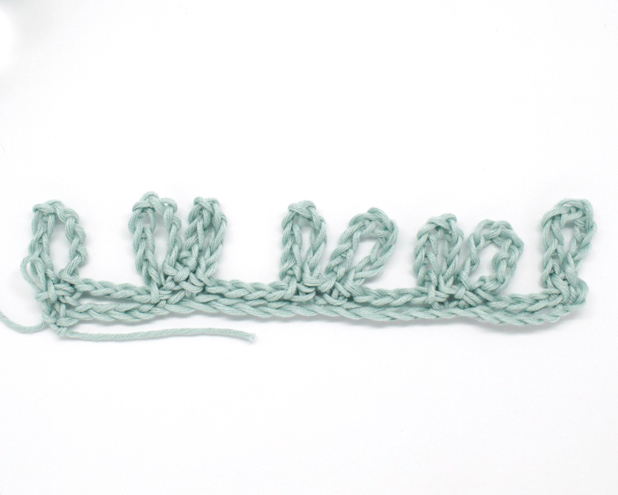
Repeat from * a * until there is 1 stitch left, finish the row with a single crochet.
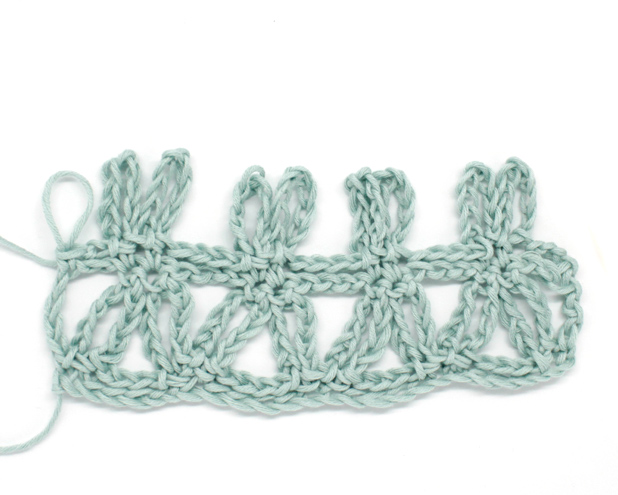
Row 2: chain 5. Chain 2 more.
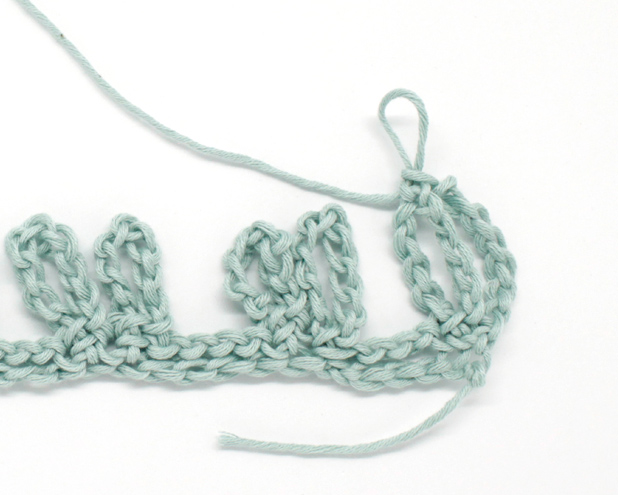

*Work 1 single crochet in the 5th chain of the loop, and then another single crochet in the 5th chain of the next loop, chain 4*.
Repeat from * to * until you reach the last loop. Finish the row with 2 chains and 1 double crochet in the turning chain of the previous row.
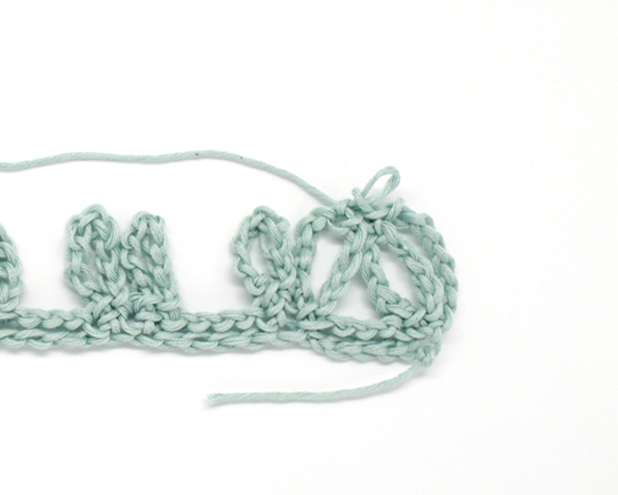
Row 3: chain 1, which will count as the first stitch of the row. Continue the row by chaining 2 and skipping 2 stitches. *Work 1 single crochet into the single crochet of the previous row, chain 9 and close the loop with a slip stitch the same as for row 1. In the next stitch, work 1 single crochet, chain 9, and 1 slip stitch to close the loop. Chain 4 and skip the chain space of the previous row*. Repeat from * to *, but finish the row with 2 chains (instead of 4) and one single crochet worked into the fifth chain in the turning chain on row 2.
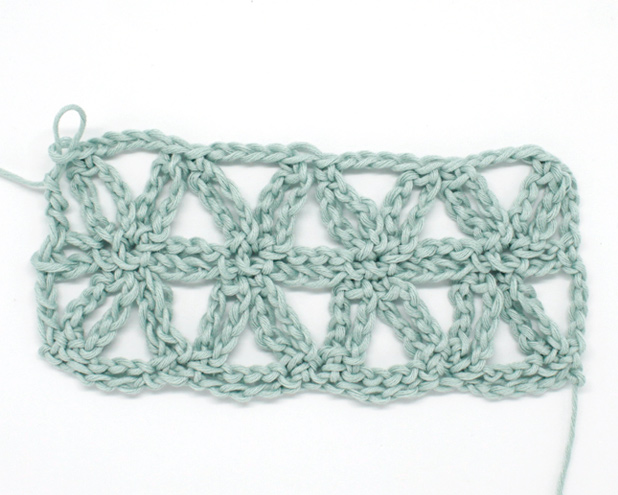
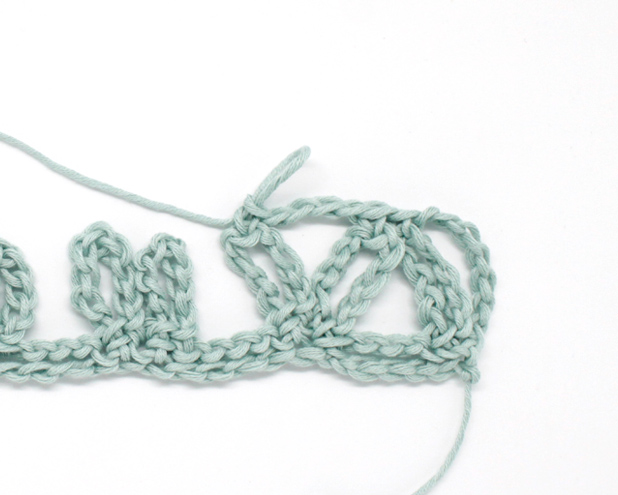
Row 4: chain 4. *Work 1 single crochet into the fifth chain of the first loop, chain 4 and work another single crochet in the fifth chain of the next loop*. Repeat from * to * until the last loop, and finish the row by making 1 double crochet in the last chain of the previous row.