Crochet Loop Stitch Photo Tutorial

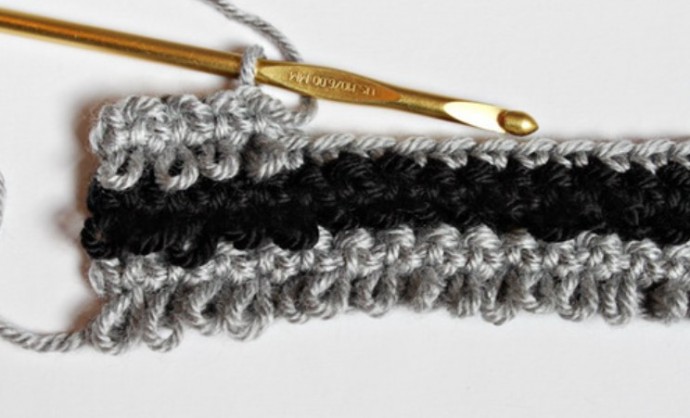
The crochet loop stitch is a fun and easy stitch to learn! This stitch is perfect to use in all types of crochet projects such as hats, blankets, and scarves!
Learn how to crochet the Loop Stitch with this photo tutorial.
Materials:
- Yarn – any weight will work, but I like Vanna’s Choice or Feels like Butta by Lion Brand, which are both medium weight four yarn.
- Crochet hook – use a hook that the yarn label recommends. I used a 6 mm for this example.
Notes:
- The loop is formed on the back side of the project so the wrong side should be facing you when you are making a loop stitch.
- At the end of every row, remember to chain 1 and turn.
The Loop Stitch Crochet Pattern:
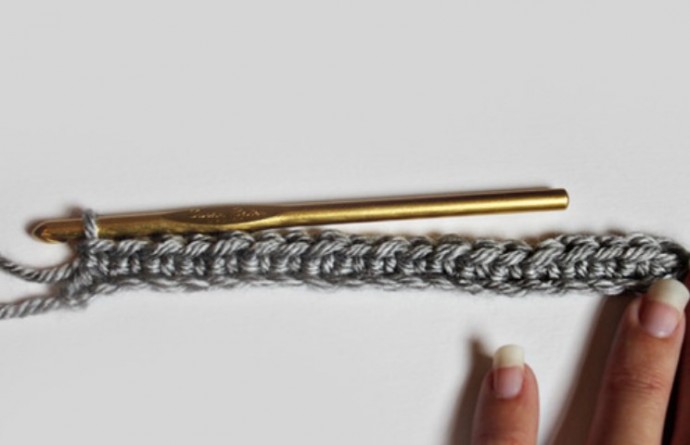
STEP 1: Chain desired amount and work a row of Single Crochets, Chain 1, turn. (I used 20 in my sample)
STEP 2: Insert hook into first stitch. Make sure working yarn is looped around finger you are using for tension.
STEP 3: Hook both strands of yarn on to the hook
STEP 4: Pull both strands through stitch (you can now adjust the loop made at the back of the project to the desired size)
STEP 5: Yarn over and pull through all three loops.
STEP 6: You have completed a loop stitch!!! Continue working loop stitches across the row.
Remember, on the next row, work single crochets.
Alternate loop rows and single crochet rows.
That’s it! You have now completed the loop stitch in crochet!
This really is a quick and easy crochet stitch pattern!


