Pretty Pebbles Stitch Photo Tutorial

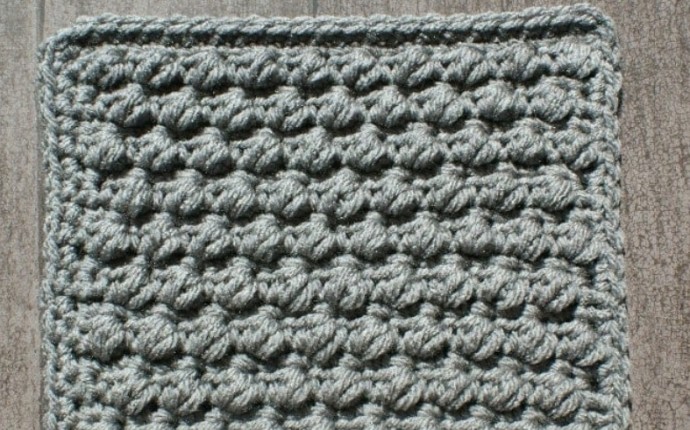
This lovely textured stitch is so easy to crochet! Try the pretty pebbles stitch pattern by following this crochet tutorial. This is the perfect stitch pattern for baby blankets and washcloths.
- Yarn: Red Heart with Love. Medium Weight Yarn [4].
- Hook: 5.50 mm (I)
- Final Measurements: 8 x 8 inches after blocking
- Gauge: (1 sc, CL) x 3 = 2 inches
- Chain multiple: 4 + 2 sts
- Abbreviations: R – row, sc, single crochet, ch – chain, chs – chains, YO – yarn over the hook, CL – cluster (see special stitches below), RS – right side, * to * – repeat instructions between the stars the number of times indicated
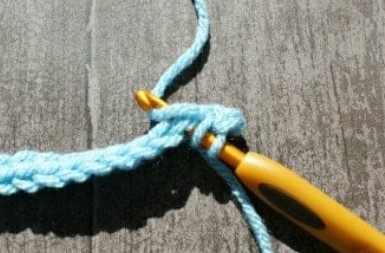
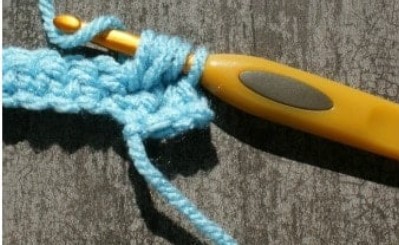
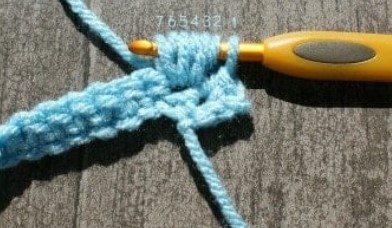
- Special Stitches: Cluster (CL): (YO, insert hook into the stitch indicated and draw up 1 loop) 3 times. YO and draw through all 7 loops on the hook.
Pebbles Stitch Pattern
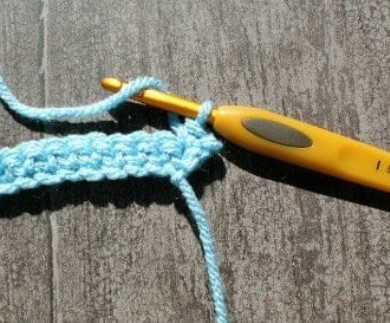
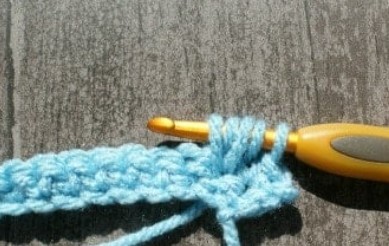
R1 (RS): Chain 22 sts. Beginning in the 2nd ch from the hook, 1 sc in each st across, ch 1, turn. [21]
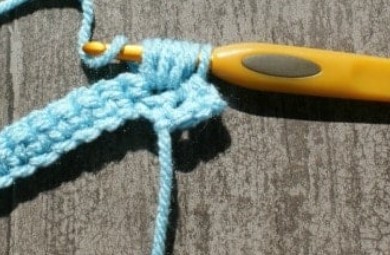
R2: 1 sc in the 1 st st. *CL in the next st, 1 sc in the next st*, repeat from * to * across, ch 1, turn [10 CL, 11 sc]
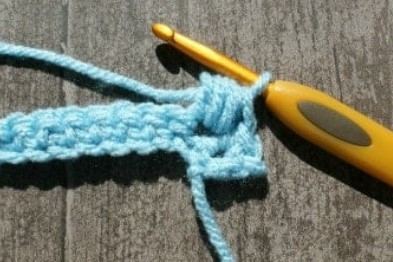
R3: 1 sc in each st across, ch 1, turn [21]
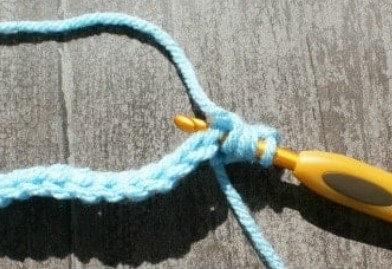
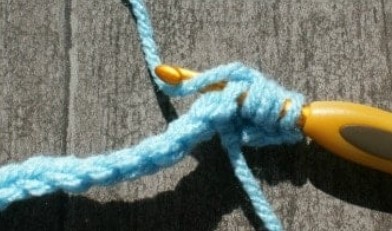
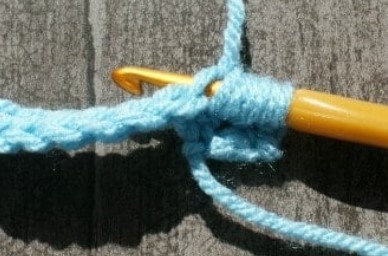
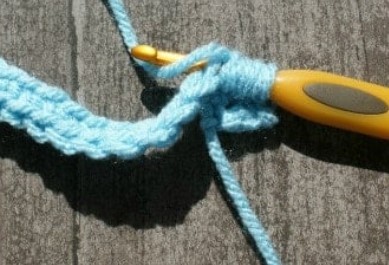
R4: 1 sc in each of the 1st 2 sts, CL in the next st. *1 sc in the next st, CL in the next st*, repeat from * to * across, 1 sc in each of the last 2 sts, ch 1, turn. [9 CL, 12 sc]
R5: 1 sc in each st across, ch 1, turn [21]
Repeat Rows 2-5, 4 times
Repeat Rows 2 & 3 once. Proceed to edging.
This should bring you to approximately 7.5 inches (stretched slightly). This square requires some blocking to reach the correct shape.
Edging
Begin working along the row ends (RS facing you – the bumpy side). 2 sc in the corner stitch, 1 sc in each row end to the corner.
Turn to work along the starting chain row, 2 sc in the first corner stitch, 1 sc in each st across to the corner.
Turn to work along the row ends, 2 sc in the first corner stitch, 1 sc in each row end to the corner.
Turn to work along the final row, 2 sc in the 1st st, 1 sc in each st across, finish off using the invisible join technique.
Now you need to block this square to get it to the correct shape.