Tunisian Crossed Stitch Photo Tutorial


The Tunisian Crossed Stitch is easy to make and absolutely gorgeous.
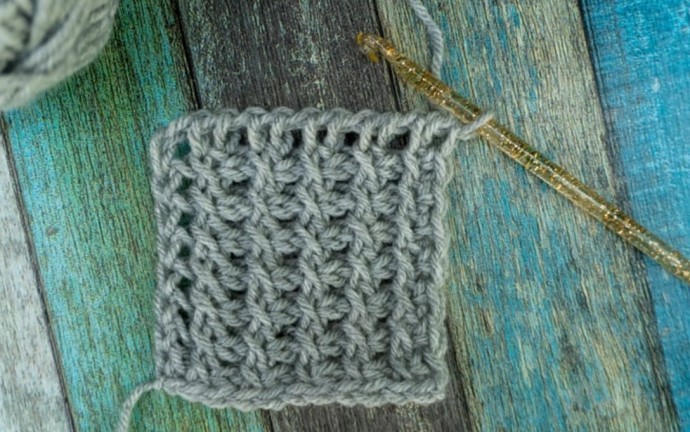
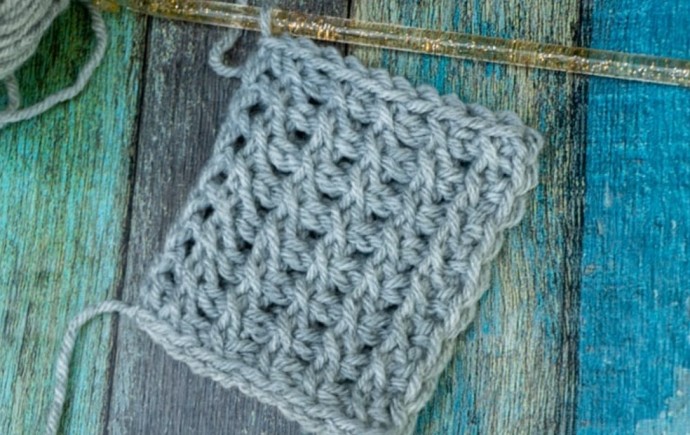
I love the X’s it creates, the vertical columns, and the squishy fabric.
Learn how to crochet this fun, textured stitch using this Tunisian crochet tutorial.
How to Tunisian Crossed Stitch:
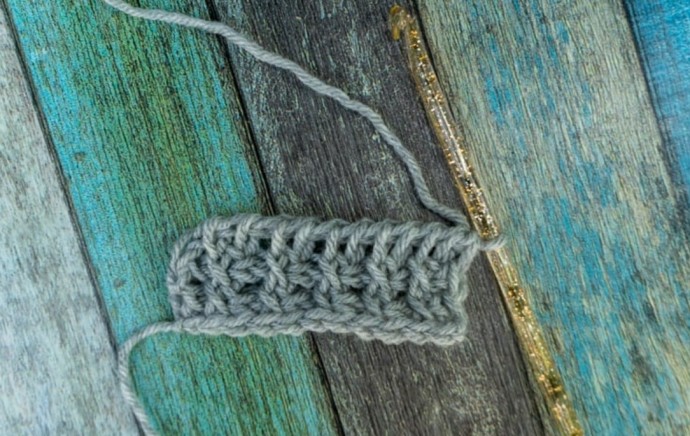
1. Start with an even number of chains.
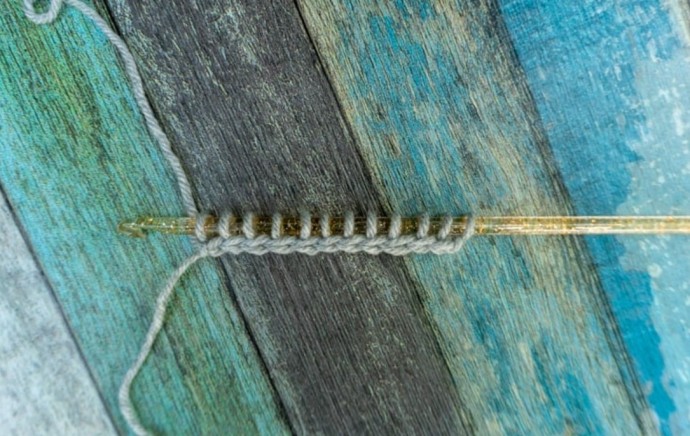
2. Crochet the foundation row as in most Tunisian crochet stitches. Pull up a loop in the 2nd chain from the hook and in each chain to end. You should have as many loops on your hook as you did chains to start.
3. Backward Pass (for this row and all rows) = Chain one, * Yarn over, pull through two loops * repeat to the end of the row when just one loops remains.
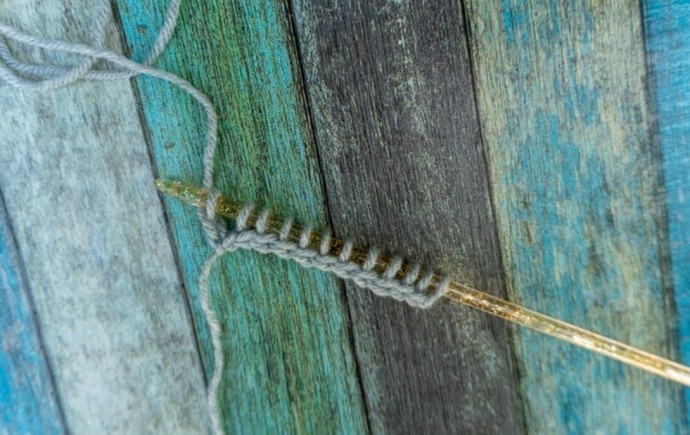
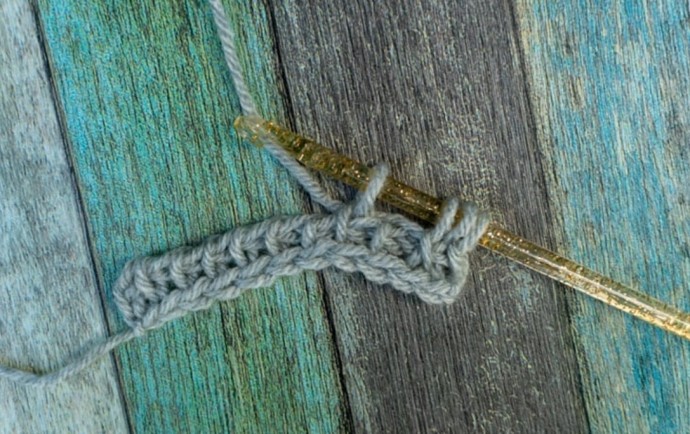
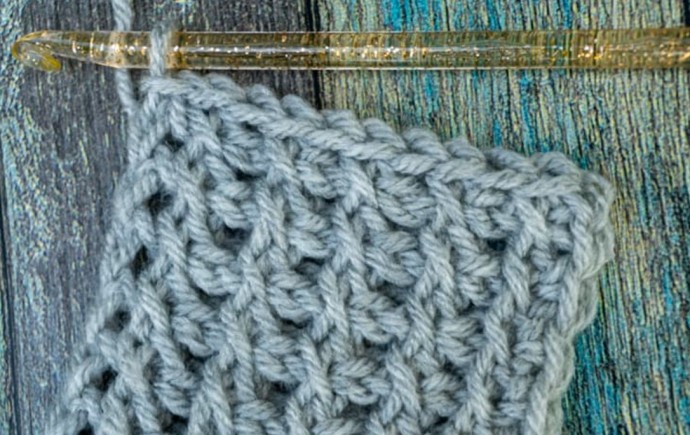
4. Skip the outside stitch and the first vertical bar. Pull up a loop in the next vertical bar as pictured below.
(Tip: It helps to make these loops nice and tall.)
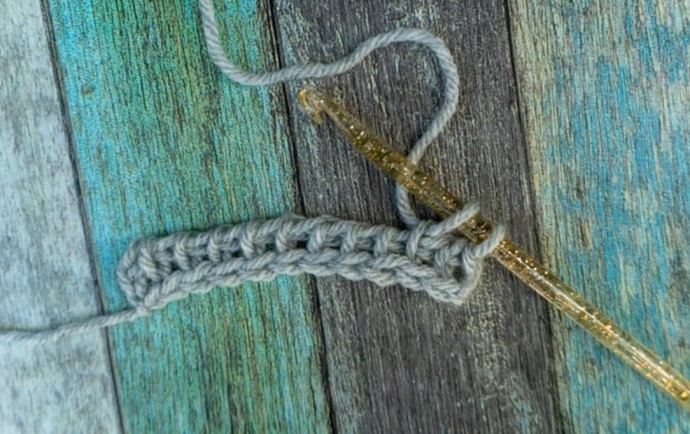
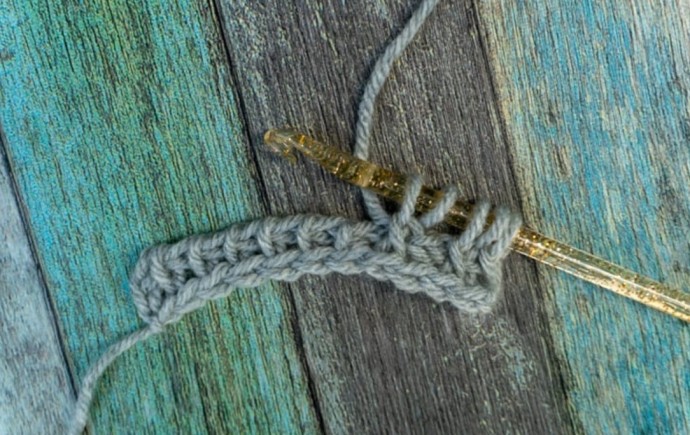
5. Pull up a loop in the skipped vertical bar.
6. Skip the next vertical bar and pull up a loop in the next.
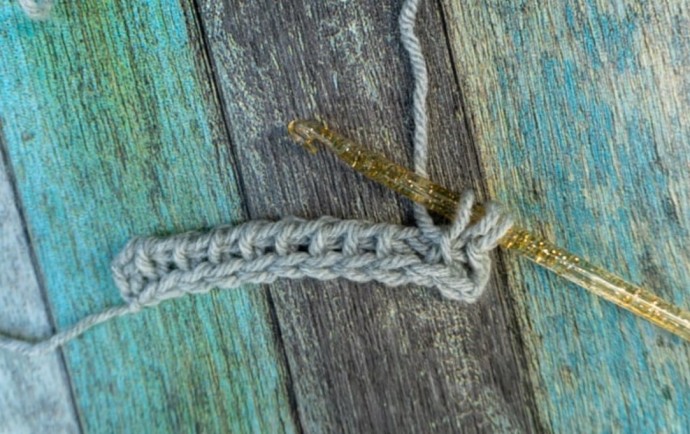
7. Pull up a loop in the skipped vertical bar.
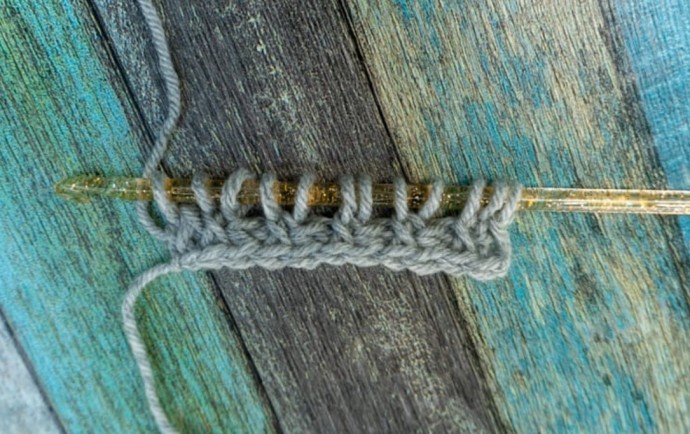
Repeat steps 6 & 7 until only the outside/edge stitch remains.
8. Pull up a loop using the outside strands of that outside stitch.
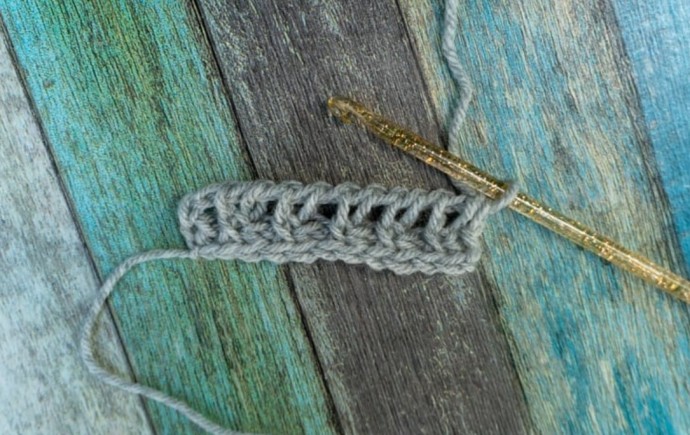
9. Backward Pass as in step 3.
Continue adding rows in this manner until the piece is as tall as you like.
When you are ready to fasten off, slip stitch maintaining the crossed pattern across the top.