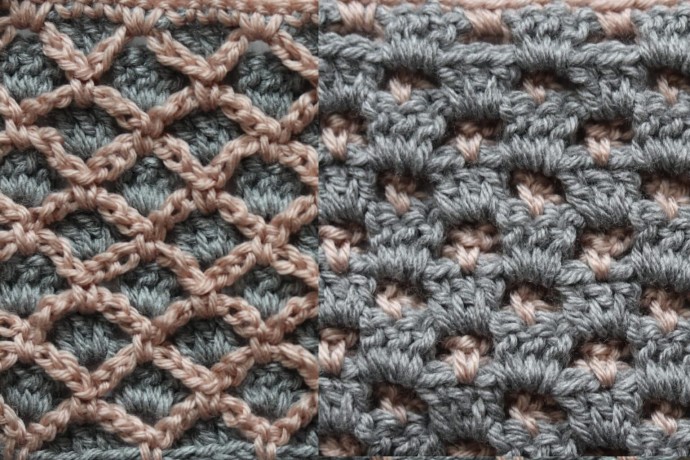
Double Sided Mesh Crochet Stitch Photo Tutorial

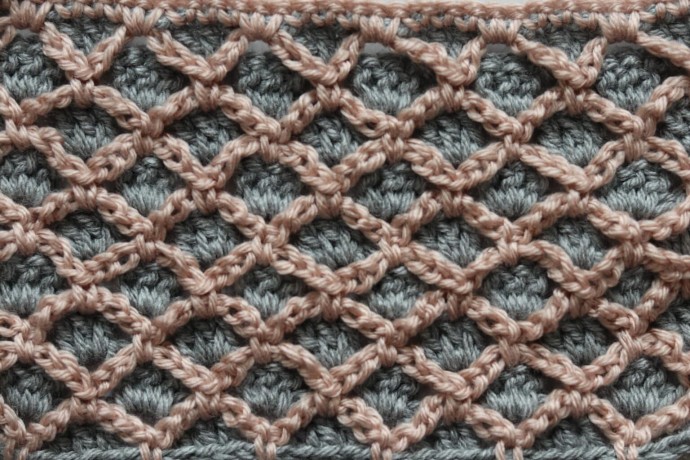
The double sided mesh stitch crochet pattern is a wonderful crochet pattern where each side looks completely different from the other.
The result is a double sided fabric that is eye-catching and equally beautiful on both sides.
Learn how to crochet the Double Sided Mesh Stitch with this photo tutorial.
Abbreviations
- Ch – Chain Stitch
- Dc – Double Crochet
- Rpt – Repeat
- Sc – Single Crochet Stitch
- Sl St – Slip Stitch
- Yo – Yarn Over
Notes
- This stitch is worked in rows in this tutorial and it may be worked in one colour or many. I will be working this pattern in two different colours. I will work side one in colour A and then switch to colour B for side two.
- To begin make a slip knot and make a foundation chain. For this stitch you will need a multiple of five stitches for your foundation chain. For example, with colour A, ch 30.
Instructions
Side One (In colour A):
Row One: Dc in the 4th ch from your hook, dc in the next st, ch 2, sk the next 2 sts, dc in the next st, dc in each of the next 2 sts, *ch 2, sk the next 2 sts and dc in each of the next 3 sts; Rpt from * across until dc in each of the final 3 sts, ch 5, turn.
Row Two: 3 dc in the next ch-2 sp, *ch 2, sk the next next 3 dc, 3 dc in the next ch-2 sp; Rpt from * across ending with a ch-2, dc in the top of your turning ch. ch 3, turn.
Row Three: 2 dc in the 1st ch-2 sp, *ch 2, sk the next 3 dc, 3 dc in the next ch-2 sp; Rpt from * across ending with 3 dc in the final ch-5 sp.
And that’s it for side one!
Repeat rows two and three for the pattern. I ended with a repeat of row three. Fasten off, weave in your ends.
Side Two (In colour B):
With colour B, join yarn in the bottom (right) corner.
Row One: Ch 7, *sc in the next ch-sp of the foundation ch, ch 7; repeat from * across. Ch 1, turn.
Row Two: Work 3 sc in the 1st ch 7, mark the 3rd st with a stitch marker, sc in the 2nd dc of row one, *ch 7, working under the next ch-7, sc into the 2nd dc of the next set of 3 dc; Rpt from * across. Ch 7, turn.
Row Three: Sc in the 2nd st of the next set of 3 dc and under the ch-7, *ch 7, sc into the 2nd sc of the next set or 3 dc working under your chain; Rpt from * across ending with a sc in the 3rd (marked) st at the end of the row. Ch 1, turn.
And that’s it for side two (Until you come to the final row of side one):
Repeat rows two and three for the pattern until you come to the final row of side one. Then proceed as follows:
For Final row: Ch 3, sc in the top of the 1st st, *sc in the next st also working under the chain loop, sc in the next st, work two sc in the next ch-2 sp, sc in the next st; Rpt from * across.
Fasten off, weave in your ends.


