Ice Cream Crochet Stitch Photo Tutorial

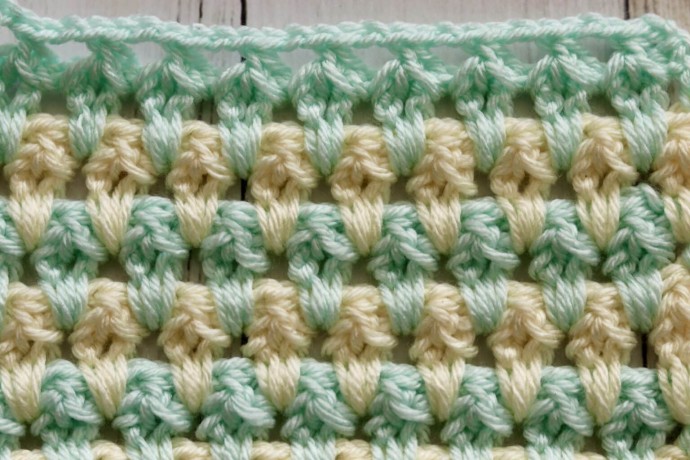
The Ice Cream Stitch pattern is a unique combination of v-stitches and cluster stitches that creates a texture that reminds me a little of Ice cream cones!
The design really stands out when it is worked in two or more colours. I like this stitch for a variety of reasons. I love its texture and the final fabric is quite strong and not too dense. It would be suitable in a variety of crochet projects and in a variety of yarn weights.
Learn how to crochet the Ice Cream Stitch with this photo tutorial.
Abbreviations
- Ch – Chain Stitch
- CL – Cluster Stitch (Yo, insert your hook into the 1st space indicated, yo and draw up a loop, insert your hook into the next space, yo and draw up a loop, insert your hook into the next sp, yo and draw up a loop. Yo and draw through 3 loops, yo and draw through the remaining 2 loops. Cluster Stitch made.)
- Rpt – Repeat
- Sc – Single Crochet Stitch
- Sl St – Slip Stitch
- V-St – V Stitch (Double crochet, ch 1, double crochet worked all in the same stitch)
- Yo – Yarn Over
Notes
- This stitch is worked in rows in this tutorial and it may be worked in one colour or many. I will be working this pattern in two colours: Colour A and colour B.
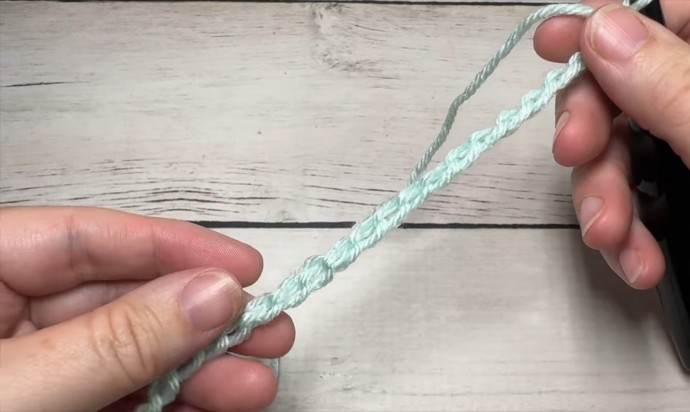
- To begin make a slip knot and make a foundation chain. For this stitch you will need a multiple of three stitches plus four (3 + 4) for your foundation chain. For example, with colour A, ch 34.
Instructions
Row One: Dc in 5th ch from your hook, ch 1, dc in the same st as previous dc, *sk the next 2 sts, [dc, ch 1, dc] in the next st; Rpt from * across until 2 chs remain, sk the next st, dc in the final st, ch 2, turn.
Row Two: CL in the next 3 spaces, *ch 2, CL beginning in the same sp as the previous CL; Rpt from * across, ending with a ch 2, dc in the 3rd ch of starting ch 4. Change to colour B, ch 3, turn.
Row Three: With colour B, *sk the next v-st 2 rows below, work a v st in the next sp between the two v-sts 2 rows below; Rpt from * across, ending with a dc in the top of the turning chain, ch 2, turn.
Row Four: CL in the next 3 spaces, *ch 2, CL beginning in the same sp as the previous CL; Rpt from * across, ending with a ch 2, dc in the 3rd ch of starting ch 4. Change to colour A, ch 3, turn.
Row Five: With colour A, work a v st in the 1st sp 2 rows below, *sk the next V-st, v-st in the next sp 2 rows below; Rpt from * across, ending with a v-st worked into the final sp and then dc in the top of the turning chain, ch 2, turn.
And that’s it!
For the rest of the pattern simply repeat rows 2-5 changing colour after every 2 rows. Fasten off, weave in your ends.


