Alpine Stitch Crochet Blanket Border Photo Tutorial

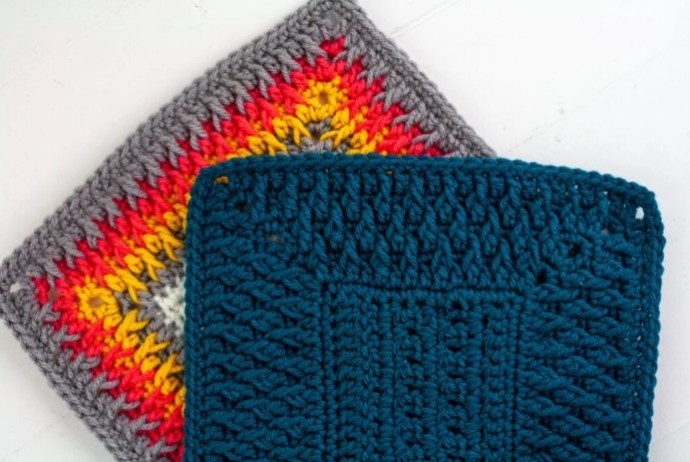
The Alpine Stitch Blanket Border is a great addition to any blanket. It has a slightly textured surface that looks beautiful in a solid color or with stripes.
Learn how to crochet the Alpine Stitch Blanket Border with this photo tutorial.
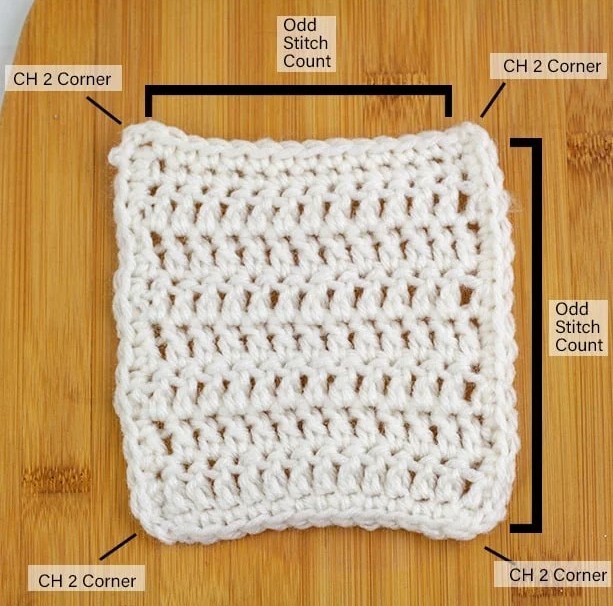
This crochet blanket border requires an odd stitch count on each side of the blanket. When adding a single crochet border around your blanket you can check and adjust your stitch count if it is not an odd stitch count.
Abbreviations
- CH- Chain
- SC – Single Crochet
- DC – Double Crochet
- FPDC – Front Post Double Crochet
- ST – Stitch
- SLST – Slip Stitch
Notes
- I do not count my turning chain as a stitch.
- Every row is started in the Chain 2 corner. You will have to work backward one stitch in order to do this.
- Before starting this border you will want to work a single crochet border around the entire blanket and make sure you have an odd stitch count on each side of the blanket.
- After working two foundation rows, your border will become a simple four-row repeat.
- If you want to make a striped border, then change colors at the beginning of every odd row.
- When you work your front post double crochet, make sure to work a very very loose stitch so that your border is not rolling forward.
Instructions
Row 1: SLST to the CH2, corner. CH2, DC into the CH2 corner, *DC into each ST down the side of the blanket, (DC, CH2, DC) into the CH2 corner,* repeat from *to* a total of 3 times. DC into each ST down the side of the blanket, DC into the CH2 corner, CH2, SLST to the first DC.
Note: Row 1 is a simple double crochet row around the blanket.
Row 2: CH2, SC into the CH2 corner, *SC into each ST down the side of the blanket, (SC, CH2, SC) into the CH2 corner,* repeat from *to* a total of 3 times. SC into each ST down the side of the blanket, SC into the CH2 corner, CH2, SLST to the first SC.
Note: Row 2 is a simple single crochet row around the blanket. Every even row will be a repeat of Row 2.
Row 3: CH3, DC into the CH2 corner, **DC into the next ST, FPDC in the next ST, DC in the next ST, Continue alternating FPDC and DC until you reach the CH2 corner. (DC, CH2, DC) into the CH2 corner* repeat from *to* a total of 3 times. DC into the next ST, FPDC in the next ST, DC in the next ST, Continue alternating FPDC and DC until you reach the CH2 corner. DC in the CH2 corner. CH2, SLST to the first DC.
Row 4: CH2, SC into the CH2 corner, *SC into each ST down the side of the blanket, (SC, CH2, SC) into the CH2 corner,* repeat from *to* a total of 3 times. SC into each ST down the side of the blanket, SC into the CH2 corner, CH2, SLST to the first SC.
Row 5: CH3, DC into the CH2 corner, **DC into the next 2STs, FPDC in the next ST, DC in the next ST, Continue alternating FPDC and DC until you are one ST from the CH2 corner. DC into the last ST, (DC, CH2, DC) into the CH2 corner* repeat from *to* a total of 3 times. DC into the next ST, FPDC in the next ST, DC in the next ST, Continue alternating FPDC and DC until you are one ST from the CH2 corner. DC into the last ST. DC in the CH2 corner. CH2, SLST to the first DC.
Note: In row 5 we need to work an extra double crochet before we start working our repeats so that our front post double crochets are offset from each other.
Row 6: CH2, SC into the CH2 corner, *SC into each ST down the side of the blanket, (SC, CH2, SC) into the CH2 corner,* repeat from *to* a total of 3 times. SC into each ST down the side of the blanket, SC into the CH2 corner, CH2, SLST to the first SC.
If you want to continue making the border larger, just continue repeating row 3-6. To finish off the borders I simple repeated rows 3 and 4 and fastened off. This gave me a nice 2-inch border.


