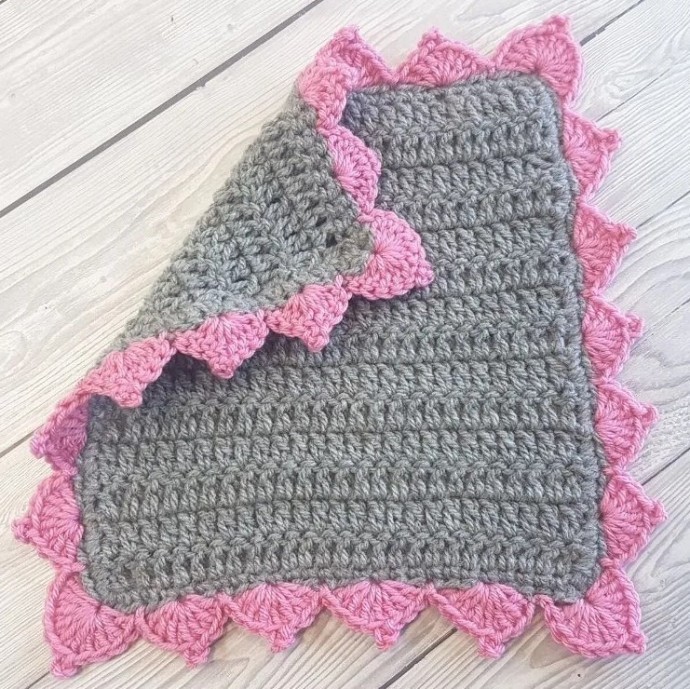
Crochet Picot Scallops Edging Photo Tutorial

The Picot Scallops Border is a simple edging constructed with double crochet fans that have a picot stitch made at the top. You can easily crochet this border around any edge, blanket or garment.
Learn how to crochet the Picot Scallops Edging with this photo tutorial.
Materials
- Marriner Yarns Aran
- 5 mm crochet hook
Abbreviations
- st(s) – stitch(es)
- ch – chain
- sk – skip
- sl st – slip stitch
- yo- yarn over
- dc – double crochet
- p st – picot stitch
Special Stitches
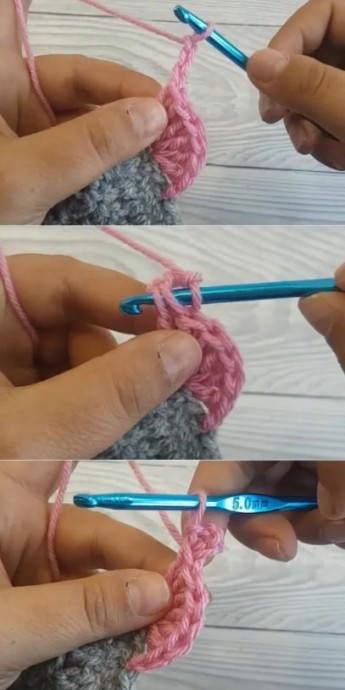
Picot Stitch (p st) – Ch3, sl st in the base stitch (NOT the base chain) by inserting the hook through both loops at the base.
Notes
- This border requires you to have multiples of 6sts plus 1 on each edge.
- The section between ** is the section that needs to be repeated
Instructions
Step 1: Corner Scallop
Join with a slip knot 3sts before the corner stitch, sk2, 6dc in the corner stitch, p st, 5dc in the same corner stitch, sk 2, sl st
Step 2: Edge Scallop
Sk2, 4dc in next st, p st, 3dc in the same st, sk2, sl st
Step 3: Crochet Scallops Along The Edge
Repeat step 2 along the edge until you have 3sts left on the edge (including the corner stitch)
Step 4: Picot Scallops Around Each Edge Of Your Project
Repeat Steps 1 – 3 on each side of your project, if you are crocheting around a blanket, repeat these steps 3 more times.
At the end of the round, sl st in the same stitch you started on Step 1 to close the round.


