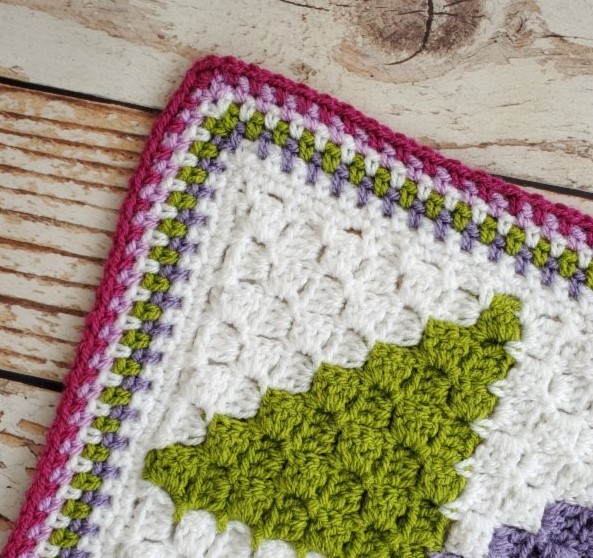
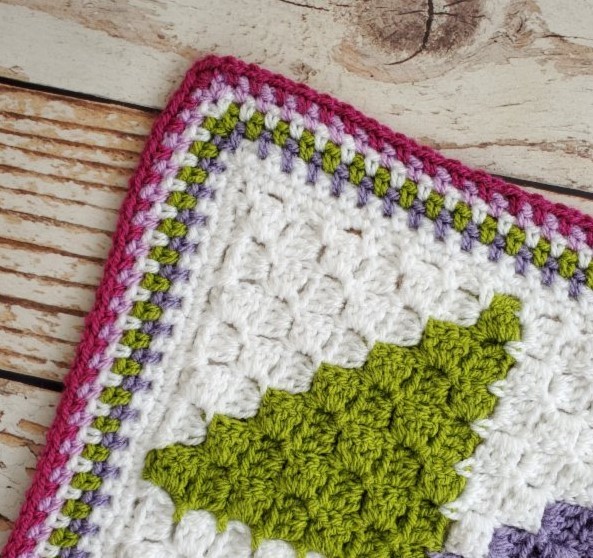
How to Crochet the Linen Stitch Border Tutorial

Today I’m sharing with you a really easy and fun border for your blanket.
I usually am not one for doing fancy borders on my projects, usually, a round of single crochets makes me a happy camper. Or maybe by the time the project is ready for its crochet border I am ready to be done with the project. The linen stitch border is simple but definitely not plain. You might also see this stitch called the moss stitch or seed stitch.
Learn how to crochet the Linen Stitch Border with this tutorial.
Materials
- 240 yds worsted weight yarn
- 40 yds each of your 4 coordinating colors
- 80 yds main color
- (These numbers are approximate, its always better to have a little more than a little less)
- 5mm crochet hook
- Scissors, yarn needle
Abbreviations
- Ch(s): chain(s)
- Sc: single crochet
- St(s): stitch(es)
- Sl st: slip stitch
Notes
- You can do this in stripes of a solid color. This is my stripe pattern for the yarn amounts listed above: main color, coordinating color 1, coordinating color 2, main color, coordinating color 3, coordinating color 4.
- On round 1, when you come to the place you joined your blocks, I single crocheted in the space before the join, ch 1, skipped the join and single crocheted in the space right after the join.
Instructions
Rnd 1: Join in any corner. Ch 1, (sc, ch 1, sc) in corner space. *Ch 1 skip next sc, sc in next repeat from * around placing a (sc, ch 1, sc) in each corner stitch. When you reach the end. Ch 1, skip last sc and join to top of 1st sc with sl st. Finish off if changing color. If not, then continue on and sl st into the corner ch 1 space
Rnd 2: Join yarn in any corner ch-1 space, ch 1, (sc, ch 1 sc) in ch-1 space. Ch 1 skip next sc, sc in next ch-1 space. Repeat from * around placing a (sc, ch 1, sc) in each corner stitch. When you reach the end, ch 1, skip last sc and join to 1st sc with sl st.
Rnds 3-6: repeat round 2.

