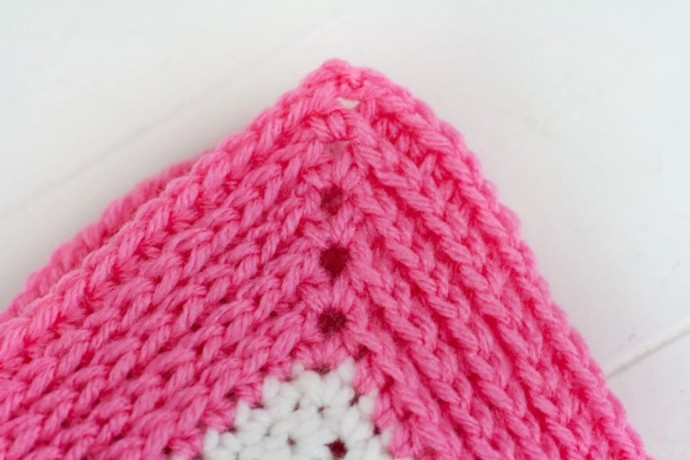
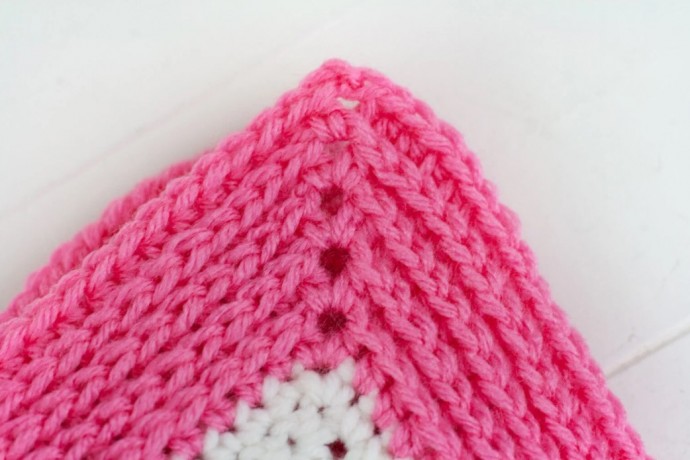
Camel Stitch Blanket Border Tutorial

Most borders require a certain number of stitches to work correctly, but the Camel Stitch Blanket Border does not.
This means you can add this crochet blanket border to any blanket that you have made.
Learn how to crochet the Camel Stitch Blanket Border with this tutorial.
Abbreviations
- CH- Chain
- HDC – Half Double Crochet
- ST – Stitch
- SLST – Slip Stitch
Notes:
- I do not count my turning chain as a stitch.
- Before I start a border, I work a border of single crochet around the entire blanket.
Instructions
Row 1: SLST to any CH2 corner. Ch2 and HDC into the Ch2 corner. *HDC into each ST down one side of the blanket, (HDC, CH2, HDC) into the CH2 corner* repeat from *to* a total of 3 times. HDC into each ST down the last side of the blanket, HDC into the same corner as the first HDC of this row, CH2 and SLST to the first HDC of this Row.
Row 2-7: CH2, HDC into the CH2 corner. *HDC into the third loop in each ST down one side of the blanket, (HDC, CH2, HDC) into the CH2 corner* repeat from *to* a total of 3 times. HDC into the third loop in each ST down the last side of the blanket, HDC into the same corner as the first HDC of this row, CH2 and SLST to the first HDC of this Row.
Note: The first HDC is actually worked into the CH2 corner behind it. This allows us to keep the seam in one corner and makes this a one row repeat.
Continue working row two until your border is as big as you would like it. Then fasten off at the end of the row and weave in your ends.
I also think this border would look nice if you changed colors every row.


