Crochet Bean Stitch Photo Tutorial

The Bean Stitch pattern is a series of puff stitches worked in such a way that they push the puffs in the row below off to the side. You get a cute zig-zag pattern that looks like little beans scattered across your fabric.
Most complicated-looking stitches are quite simple once you break them down step by step.
Learn how to crochet the Bean Stitch with this photo tutorial.
Instructions:
Start with an odd numbered chain.
Insert hook into the 3rd ch from the hook and pull up a loop (2 loops on the hook).
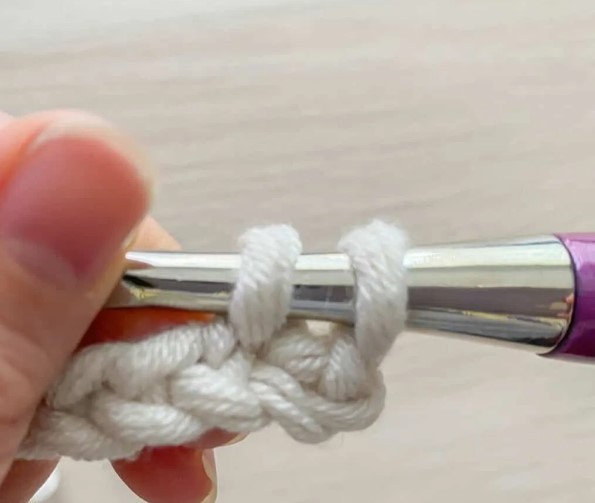
Yarn over, insert hook into the same stitch, and pull up a loop (4 loops on the hook).
Next, yarn over, insert hook into the same stitch, and pull up a loop (6 loops on the hook).
Yarn over and pull through all 6 loops on the hook.
Chain 1 to secure to stitch.
There you go! You’ve finished the basic bean stitch, but there’s still more to learn of course.
Skip the next stitch then make another bean stitch.
Continue skipping a stitch and then making another bean stitch all the way to the end of the row.
You’ve already chained 1 to secure that last bean stitch, now you’ll chain again and turn.
Each bean stitch in after row 1 will be work in the “v” space created by the bean stitch in the row below.
Here’s the first completed bean of row 2. You can see it pushes the bean stitch below it even farther to the side.
Once you reach the end of the row, the last bean will go almost on the side of the row below.
That's it!


