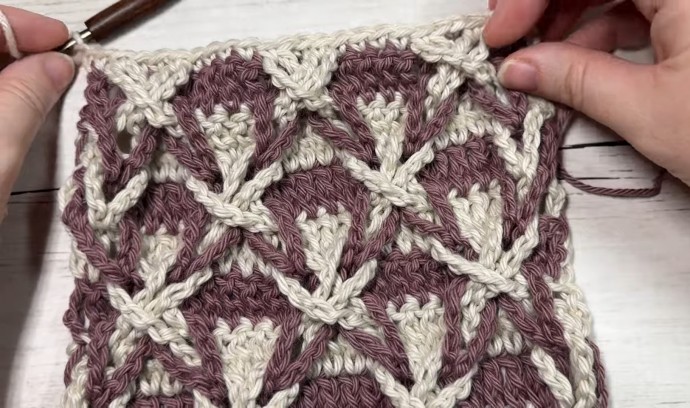
How to Crochet the Polish Star Stitch Photo Tutorial

The Polish Star crochet stitch pattern is mesmerizing and has lots of options and potential for dramatic colour changes!
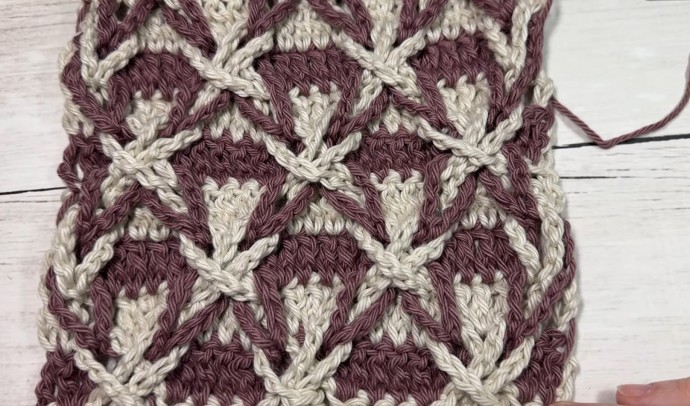
The Polish Star crochet stitch is constructed in a similar way to the popular Jacob’s ladder stitch. The main difference between the two stitches, is that instead of having chains that run vertically along the fabric as in the Jacob’s ladder stitch, the chains in the Polish Star pattern create more of a lattice design. The carefully placed colour changes can then give the illusion that little star bursts are being created.
It is a really neat design! I have seen it used in cushion covers, but you can experiment with it in a lot of other crochet projects as well.
Learn how to crochet the Polish Star Stitch with this photo tutorial.
Materials:
- small amount of cotton yarn in two different colours
- 5 mm crochet hook
Stitches and Abbreviations:
- Ch – Chain Stitch
- Exdc – Extended Double Crochet Stitch (yo, insert your hook into the indicated stitch, yo and draw up a loop. Yo and draw through the first loop on your hook, [yo and draw through 2 loops on your hook] twice. Extended Double Crochet Stitch made.)
- Rpt – Repeat
- Sc – Single Crochet Stitch
- Sl St – Slip Stitch
- Yo – Yarn Over
Notes:
- This stitch is worked in rows in this tutorial and it may be worked in one colour or many. I will be working this pattern in two colours: Colour A and Colour B.
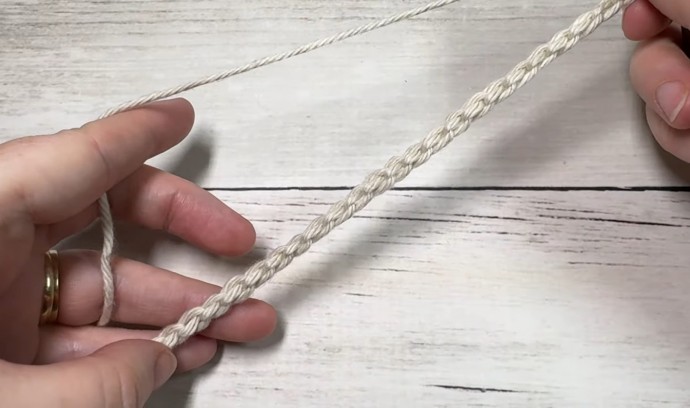
- To begin make a slip knot and make a foundation chain. For this stitch you will need a multiple of eight chains, plus three (8+3) for your foundation chain. For example, with colour A, ch 35.
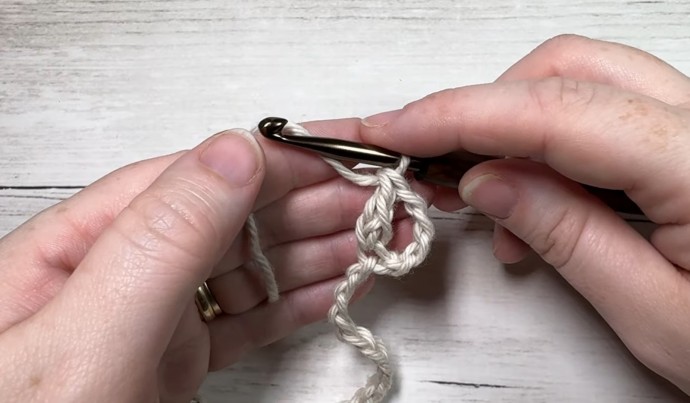
Instruction:
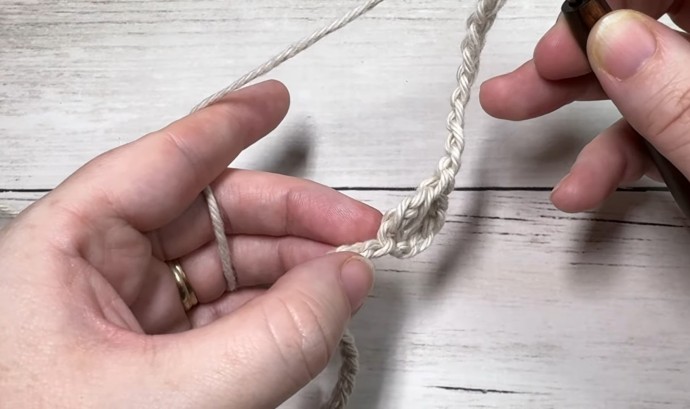
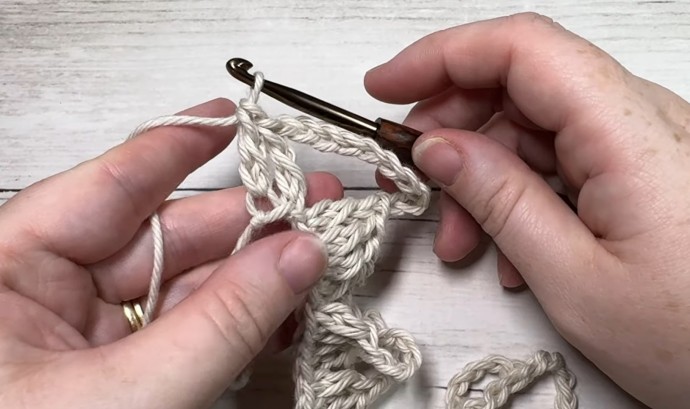
Row One: Exdc in 5th ch from hook (ch-4 counts as an exdc here and throughout), *ch 10, exdc in each of the next 4 chs; Rpt from * across until 2 sts remain, ch 10, exdc in each of the final 2 sts. Drop colour A, join colour B in the 1st st of previous row.
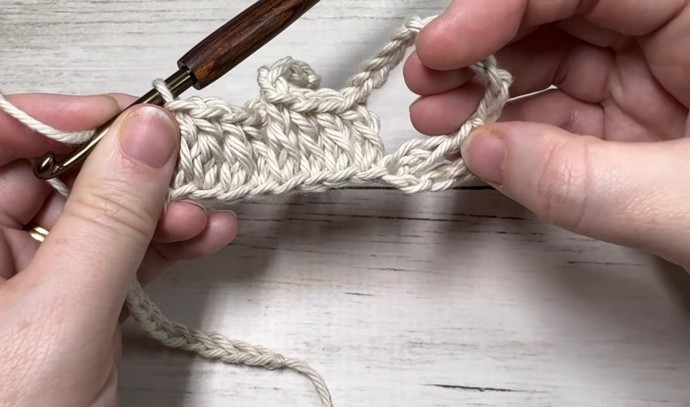
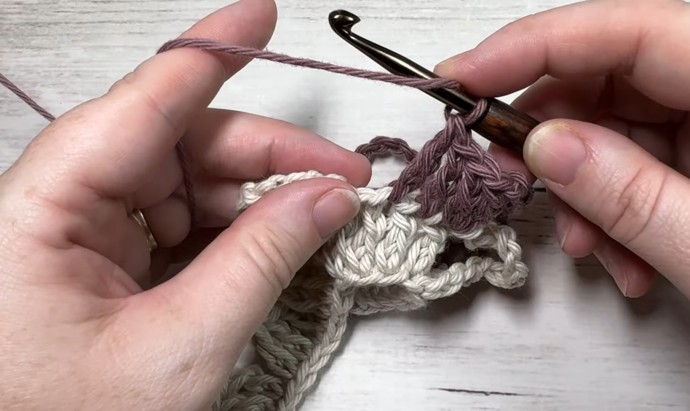
Row Two: With colour B, ch 4, work 2 exdc in the next st, *ch 10, sk the next ch-10 and exdc, exdc in each of the next 2 sts, ch 10, sk the next exdc and ch-10, 2 exdc in next st, exdc in each of the next 2 sts, 2 exdc in next st; Rpt from * across until 2 sts remain, ch 10, sk the next ch-10, 2 exdc in the next st, exdc in the final st. Drop colour B, pick up colour A. Ch 4, turn.
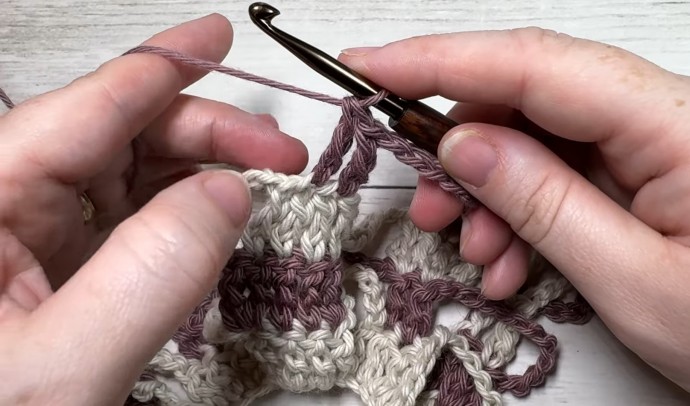
Row Three: With colour A, exdc in next st, *Ch 10, sk the next exdc, sk the next ch-10 sp, 2 exdc in each of the next 2 sts, ch 10, sk the next ch-10 sp, sk the next exdc, exdc in each of the next 4 sts; Rpt from * across until 3 sts remain, ch 10, sk the next ch-10 sp, sk the next st, exdc in each of the final 2 sts. Drop colour A, Pick up colour B at the start of row.
Row Four: With colour B, ch 4, sk the next exdc, * ch 10, sk the next ch-10 sp, 2 exdc in the next st, exdc in each of the next 2 sts, 2 exdc in the next st, ch 10, sk the next ch-10 sp, sk the next exdc, exdc in each of the next 2 sts, sk the next st; Rpt from * across ending with a ch 10, exdc in the final st. Drop colour B, pick up colour A. Ch 4, turn.
Row Five: With colour A, exdc in the first st, *ch 10, sk the next ch-10 sp, sk the next exdc, exdc in each of the next 4 sts, sk the next exdc, ch 10, sk the next ch-10 sp, 2 exdc in each of the next 2 sts; Rpt from * across, ending with ch 10, 2 exdc in the 4th ch of the turning ch. Drop colour A, pick up colour B at the start of row. Ch 4.
And Repeat!
For the rest of the pattern you will repeat rows 2-5 for as long as you would like. End on a repeat of row 5 and then continue as follows:
Next Row: With colour B, exdc in the next st, sk the ch-10, *exdc in each of the next 4 sts, sk the next ch-10; Rpt from * across until 2 sts remain, exdc in each of the final 2 sts. Fasten off colour B. Pick up colour A, ch 1.
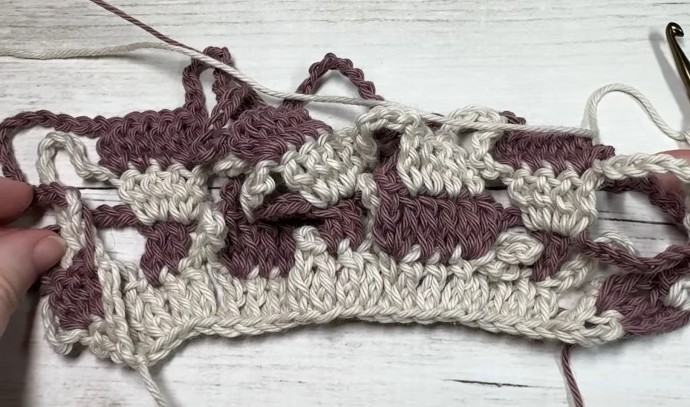
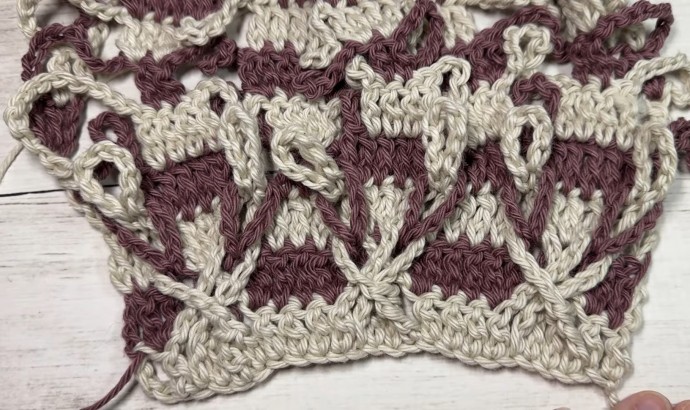
Braid your loops!
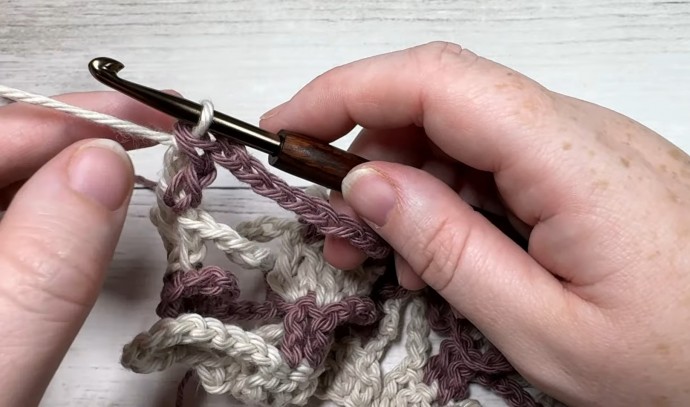
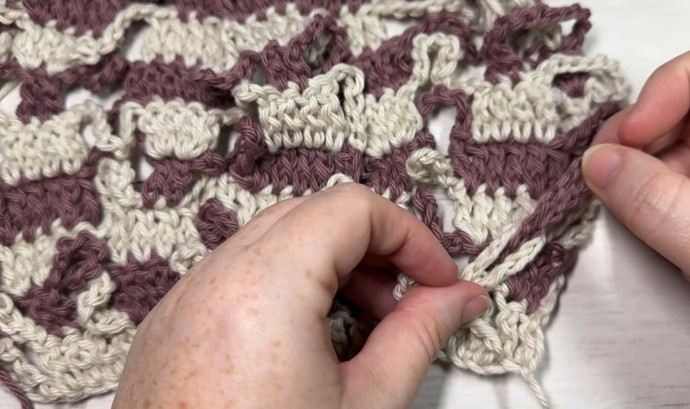
Now make sure the right side of your work is facing you and all of the ch-10 loops are pulled through to the front of the fabric.
Step 1:
Starting with the first two chain loops created in row one, cross them over inserting the left loop through the right loop.
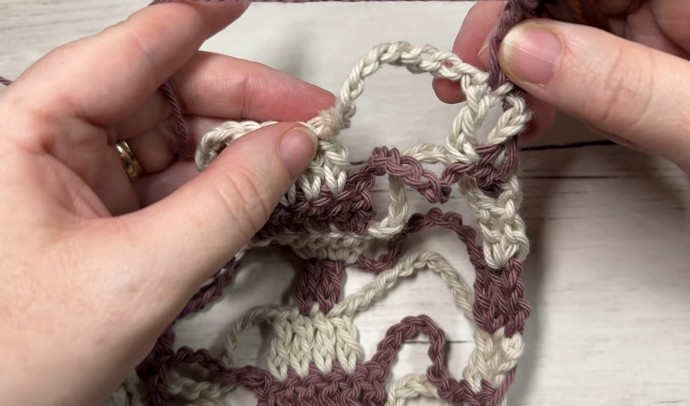
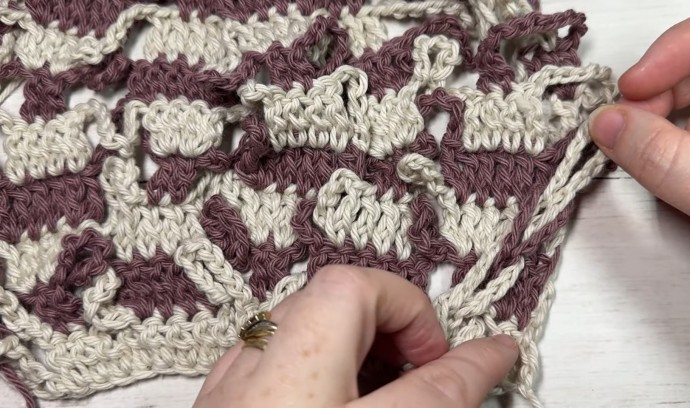
Next with the right loop, pull the loop directly above it in row 2 through the row 1 loop and repeat the same for row 3 pulling the row 2 loop through row 3. Repeat this with the loop on the left side.
Repeat the above Step 1 all the way across row one.
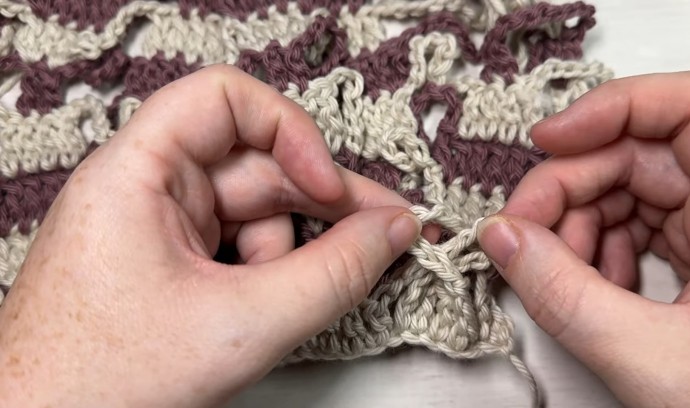
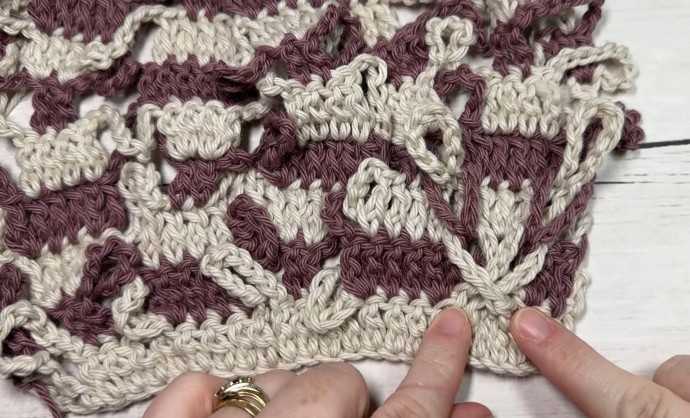
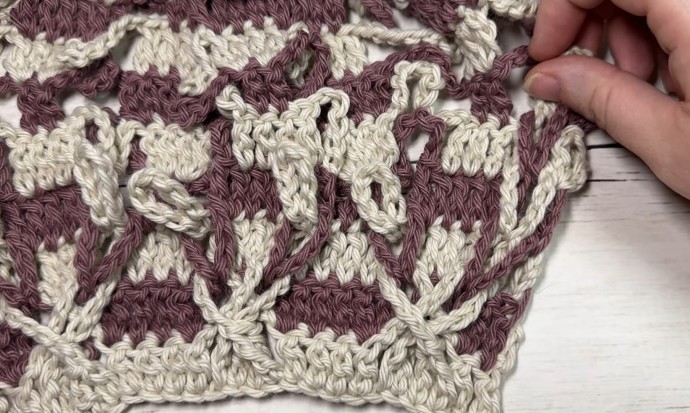
Step 2:
Starting with the first loop in row 3, pull the loop from row 4 directly above it through and repeat pulling the row 5 loop above it through the row 4 loop.
Next moving to the next set of 2 loops in row 3, repeat the step one process with rows 4 and 5.
Move across row 3 repeating the above steps until you come to the final loop. With your final loop on the side pull the loop from row 4 directly above it through and repeat pulling the row 5 loop above it through the row 4 loop.
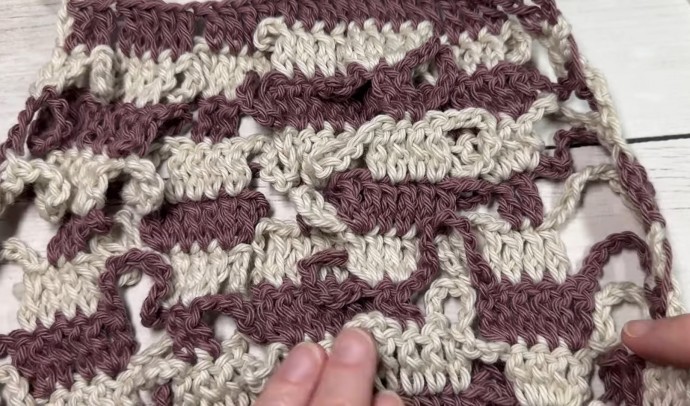
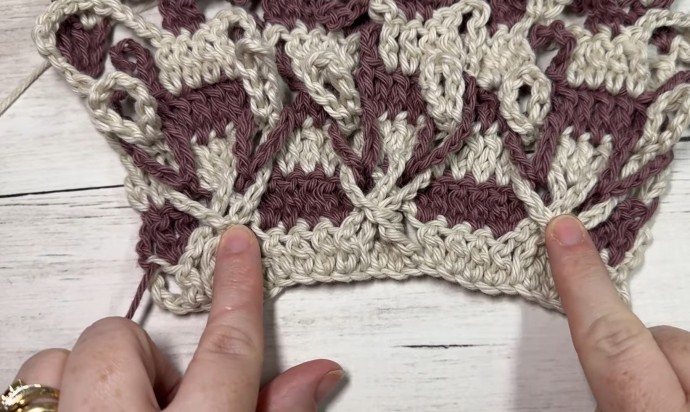
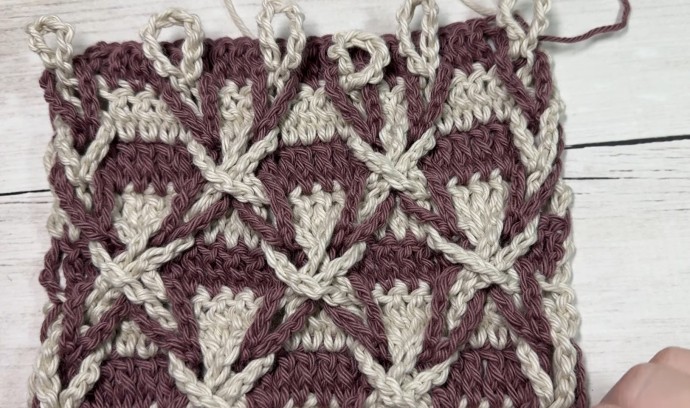
Repeat!
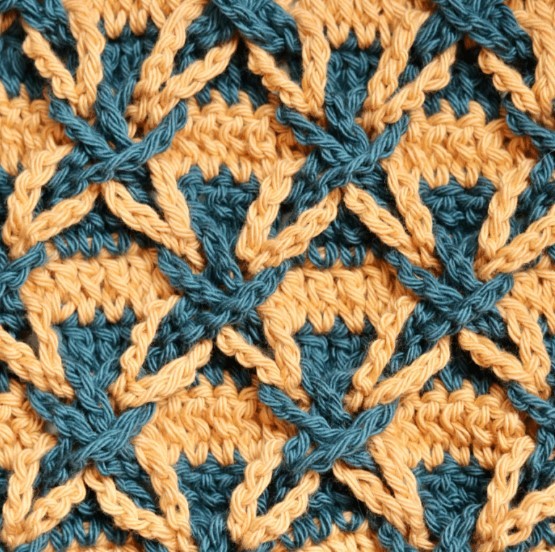
Continuing at row 5, repeat steps 1 and 2 until you have braided all of your loops. It should form a lattice/diamond pattern and you will finish off by crossing all of the loops in the final repeat of row 5.
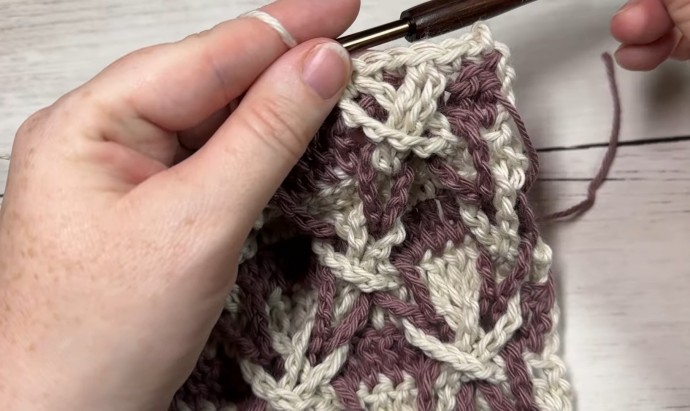
Final Row:
With your colour A and the right side of your work facing, sc in each of the 1st 2 sts, *sc in the next st also inserting your hook through the final crossed loose loop directly below, sc in each of the next 2 sts, sc in the next st also inserting your hook through the final crossed loose loop directly below, sc in each of the next 4 sts; Rpt from * across until 2 sts remain, sc in each of the final 2 sts.
Fasten off, weave in your ends and block if desired!