How to Crochet the Textured Star Stitch Photo Tutorial

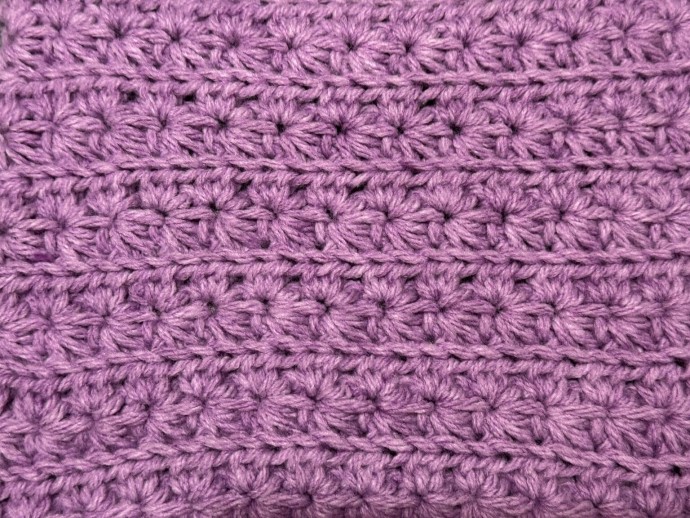
Star Stitch crochet patterns add a beautiful design and texture to any project.
This star stitch features a little added texture that adds a bit more depth to the design and it frames the star stitches quite nicely.
The star stitches are quite simple to work with the pattern being a straightforward two-row repeat: One row of cluster stitches followed by a row of half double crochet. You will want to add this star stitch pattern to your blankets, scarves and more!
Learn how to crochet the Star Stitch with this photo tutorial.
Materials
- worsted-weight yarn
- 5 mm (H/8) crochet hook
Abbreviations
- Beg CL – Beginning Cluster Stitch (Insert your hook into the 2nd ch from your hook, yo and draw up a loop, insert your hook into the next ch, yo and draw up a loop, insert your hook into the next st, yo and draw up a loop, insert your hook into the next st, yo and draw up a loop, insert your hook into the next st, yo and draw up a loop. With 6 loops on your hook, yo and draw through all the loops on your hook. Beginning Cluster Stitch Made)
- Blo – Back Loop Only
- Ch – Chain Stitch
- CL – Cluster Stitch (Insert your hook into the previous ch-st which is the centre of the cluster stitch below, yo and draw up a loop, insert your hook under the final loop of the previous cluster st, yo and draw up a loop, insert your hook into the same st at the previous cluster st, yo and draw up a loop, insert your hook into the next st, yo and draw up a loop, insert your hook into the next st, yo and draw up a loop. With 6 loops on your hook, yo and draw through all the loops on your hook. Cluster Stitch Made)
- Hdc – Half Double Crochet
- Rpt – Repeat
- Sl St – Slip Stitch
- Yo – Yarn Over
Notes
- This stitch is worked in rows in this tutorial and it may be worked in one colour or many. I will be working this pattern in a solid colour.
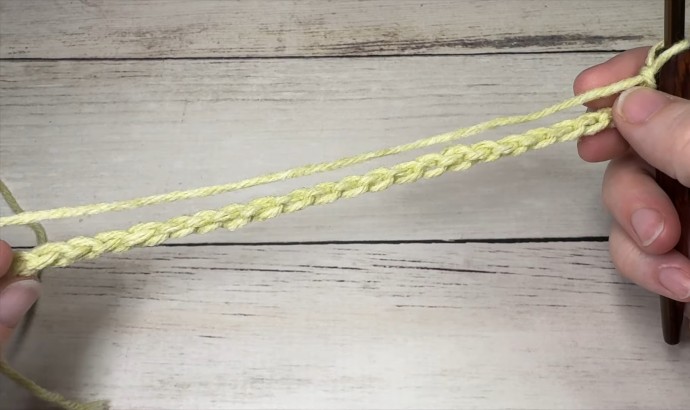
- To begin, make a slip knot and make a foundation chain. For this stitch, you will need an even multiple of stitches for your foundation chain. For example, ch 30.
Instructions
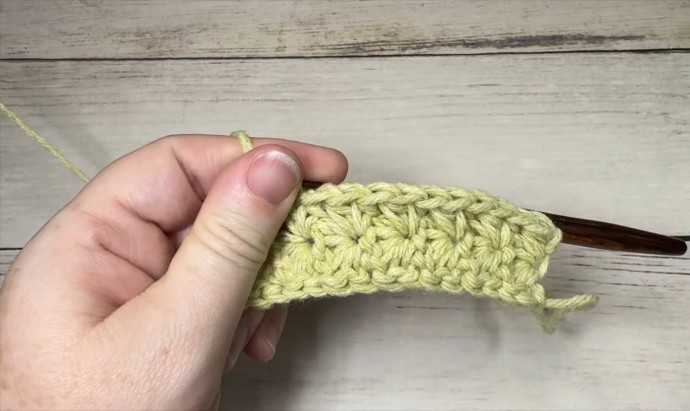
Row One: Beg CL beginning in the 2nd ch from your hook, *CL; Rpt from * across. Ch 2, turn.
Row Two: Hdc in the 1st st (the ch-st at the base of the turning ch), *2 hdc in next ch-1 st (This is the centre of your star st); Rpt from * across to the final turning ch, hdc in the turning ch. Ch 3, turn.
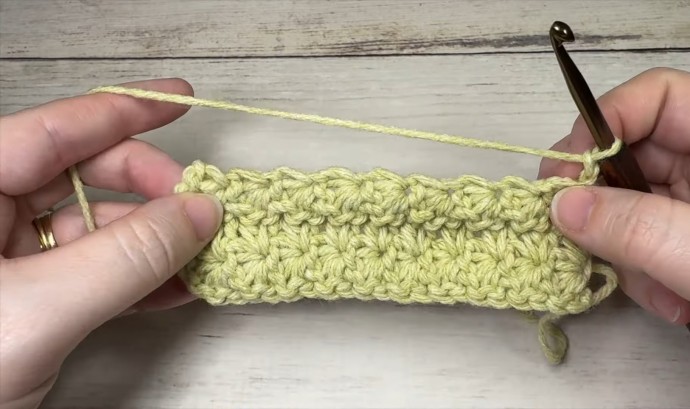
Row Three: Working in the blo all the way across, beg CL beginning in the 2nd ch from your hook, *CL; Rpt from * across. Ch 2, turn.
Row Four: Hdc in the 1st st (the ch-st at the base of the turning ch), *2 hdc in next ch-1 st (This is the centre of your star st); Rpt from * across to the final turning ch, hdc in the turning ch. Ch 3, turn.
And that’s it!
For the rest of the pattern, simply repeat rows three and four. Fasten off, weave in your ends.


