How to Crochet the Slip Stitch Ridges Photo Tutorial

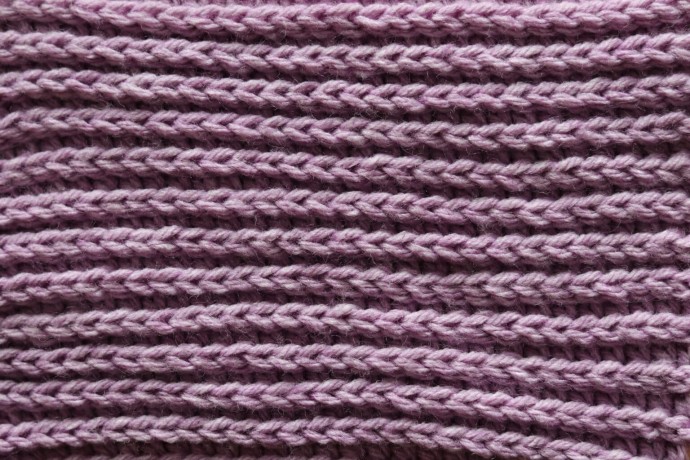
The Slip Stitch Ridges crochet pattern is a great way to create that ribbed look on only one side of your fabric.
The fact that the texture is to the front side is how the stitch pattern differs from the similar slip stitch ribbing.
I enjoy working this combination of easy stitches. The pattern is created by alternating rows of slip stitches and half double crochet stitches that are worked in the back loop only. If you’re not a fan of working into slip stitches, don’t worry. By working them into the half double crochet stitches below and then in the back loop only, it makes them much easier to work into.
How would you use this stitch? It can be worked in a wide variety of projects. While it does have a ribbed look, you may want to be selective when you use it as ribbing in a project. Remember that it does not have as much stretch as other traditional crochet ribbing patterns, the texture is all to the front side and it may not hold its shape as well when repeatedly stretched.
Learn how to crochet the Slip Stitch Ridges with this photo tutorial.
Materials
- worsted-weight yarn
- 5 mm (H/8) crochet hook
Abbreviations
- Blo – Back Loop Only
- Ch – Chain Stitch
- Hdc – Half Double Crochet
- Rpt – Repeat
- Sc – Single Crochet
- Sl St – Slip Stitch
- Yo – Yarn Over
Notes
- This stitch is worked in rows in this tutorial and it may be worked in one colour or many. I will be working this pattern in a solid colour.
- To begin, make a slip knot and make a foundation chain. For this stitch, you may use any number of stitches for your foundation chain. For example, chain 31.
Instructions
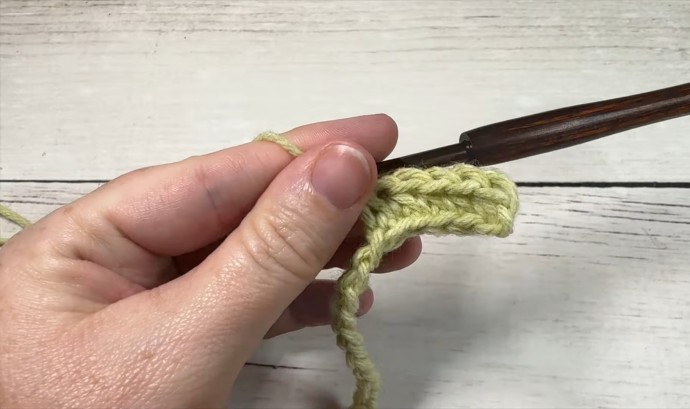
Row One: Hdc in the 2nd ch from your hook and in each st across. Ch 1, turn.
Row Two: Sl st in the 1st st and in each st across. Ch 1, turn.
Row Three: Working in the blo all way way across, hdc in the 1st st and in each st across. Ch 1, turn.
And that’s it!
For the rest of the pattern, simply repeat rows 2 and 3.


