How to Crochet the Interlocking Stitch Photo Tutorial

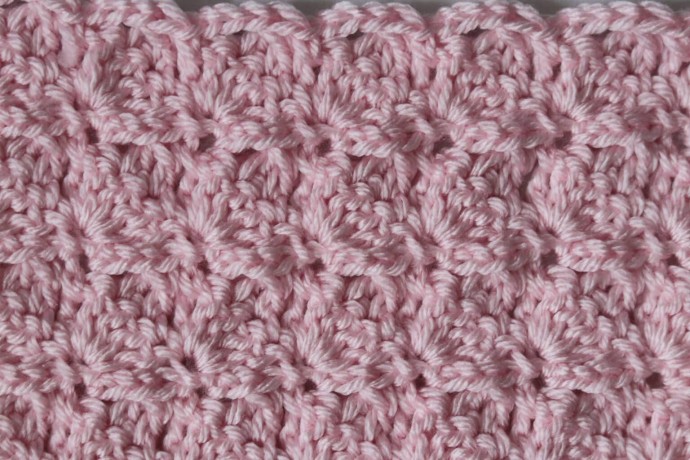
I love the simplicity and the subtle texture of this Interlocking Stitch crochet pattern and I’m sure you will also!
There are a variety of interlocking crochet stitches out there and this one shares their beauty! Interlocking stitches are wonderful in many different types of projects due to the solid, but not dense fabric that they create. I have seen interlocking crochet stitches used to make beautiful baby blankets and cardigans. And as this stitch pattern is not too dense you can work it in a variety of weights of yarn – even in your super bulky weight!
Learn how to crochet the Interlocking Stitch with this photo tutorial.
Stitches and Abbreviations:
- Ch – Chain Stitch
- CL – Cluster Stitch ([Yo, insert your hook into the stitch indicated, yo and draw up a lo, yo and draw through 2 loops on your hook] twice, yo and draw through remaining 3 loops on your hook. Cluster Stitch made.)
- Dc – Double Crochet
- Dc2tog – Double Crochet Two Stitches Together
- Rpt – Repeat
- Sc – Single Crochet Stitch
- Sl St – Slip Stitch
- Yo – Yarn Over
Pattern Notes:
- This stitch is worked in rows in this tutorial and it may be worked in one colour or many. I will be working this pattern in a solid colour.
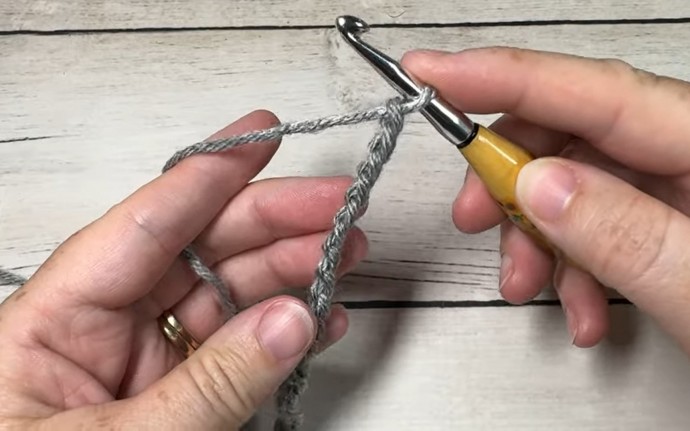
- To begin make a slip knot and make a foundation chain. For this stitch you will need a multiple of 4 + 2 stitches for your foundation chain.
- For example, ch 22.
The Interlocking Stitch Pattern
Row One: Sc in the 2nd ch from your hook and into each st across. Ch 1, turn.
Row Two: Sc in the 1st st, *ch 2, 4 dc through the post of the sc just made, sk the next 3 sts, sc in the next st; Rpt from * across, sc in the final st, ch 2, turn.
Row Three: *Sk the next dc, dc2tog over the next 2 sts, sk the next dc, ch 3, sc in the next ch-2 sp; Rpt from * across, sc in the final ch-2 sp, ch 1, turn.
Row Four: Sc in the 1st st, *ch 2, 4 dc through the post of the sc just made, sk the next ch-3, sc in the next sc; Rpt from * across, sc in the final st, ch 2, turn.
For the rest of the pattern simply repeat rows 3 and 4 for the pattern. Fasten off, weave in your ends.


