How to Crochet the Shelled Cluster Stitch Photo Tutorial

If you are looking for a crochet stitch for a lighter weight blanket – perhaps a gift for baby – this Shelled Cluster Stitch is beautiful!
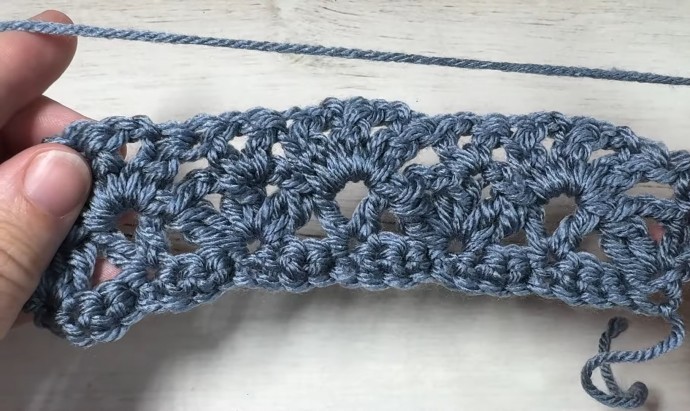
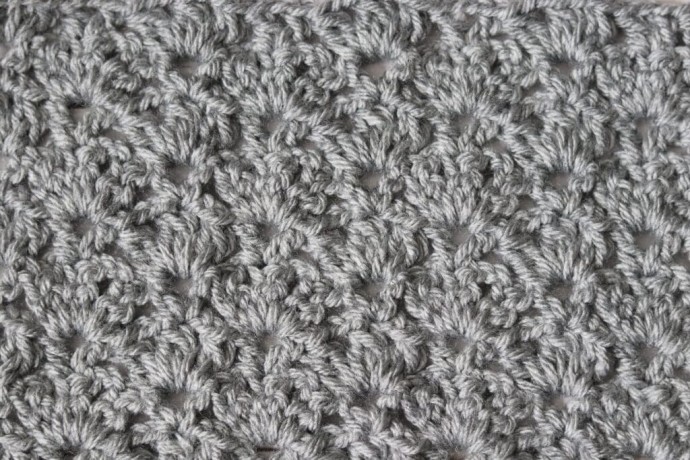
I love the texture and the weight of this crochet stitch. It is very pretty and similar on both sides. The fabric is solid but with beautiful drape and not as dense as some of the other cluster stitch patterns that are out there. You can work this stitch pattern in a variety of different yarn weights and fibres.
Learn how to crochet the Shelled Cluster Stitch with this photo tutorial.
Stitches and Abbreviations:
- Beg CL – Beginning Cluster (ch 2, yo, insert your hook into the 1st stitch, yo and draw up a loop, yo and draw through 2 loops on your hook, yo and draw through all the loops on your hook]
- Ch – Chain Stitch
- CL – Cluster Stitch ([Yo, insert your hook into the stitch indicated, yo and draw up a loop, yo and draw through 2 loops on your hook] twice, yo and draw through remaining 3 loops on your hook. Cluster Stitch made.)
- CL Shell – Cluster Shell (([CL, ch 2] twice, CL) in the indicated stitch. CL Shell made.)
- Dc – Double Crochet
- Rpt – Repeat
- Sc – Single Crochet Stitch
- Sl St – Slip Stitch
- V-St – V Stitch ([dc, ch 1, dc] in the indicated st or ch-1 sp. V-st made.)
- Yo – Yarn Over
Pattern Notes:
This stitch is worked in rows in this tutorial and it may be worked in one colour or many. I will be working this pattern in a solid colour.
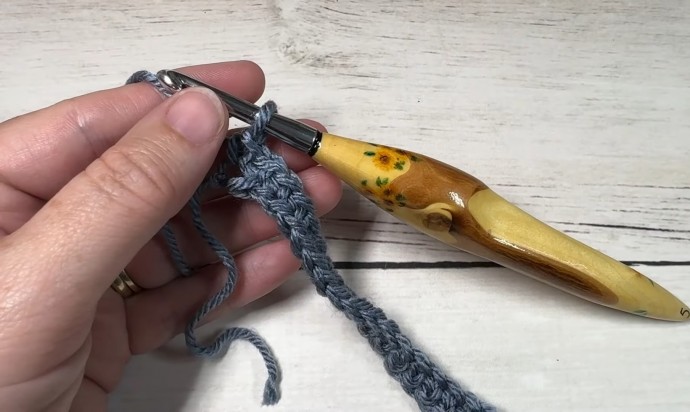
To begin make a slip knot and make a foundation chain. For this stitch you will need a multiple of 8 + 2 stitches for your foundation chain.
For example, ch 34.
Shelled Cluster Stitch Crochet Pattern:
Row One: Sc in the 2nd ch from your hook and into each st across. Ch 2 (counts as the first part of your Beg CL), turn.
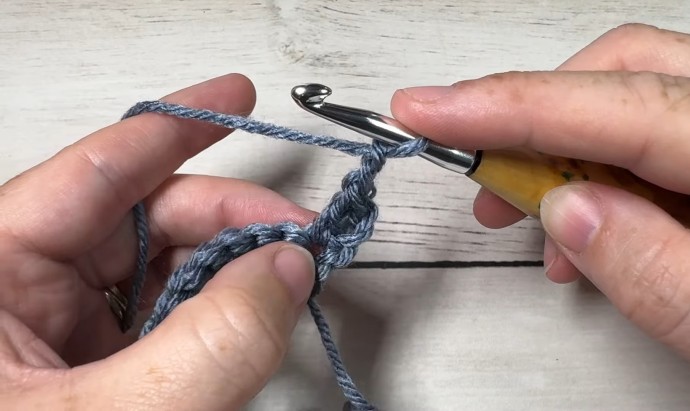
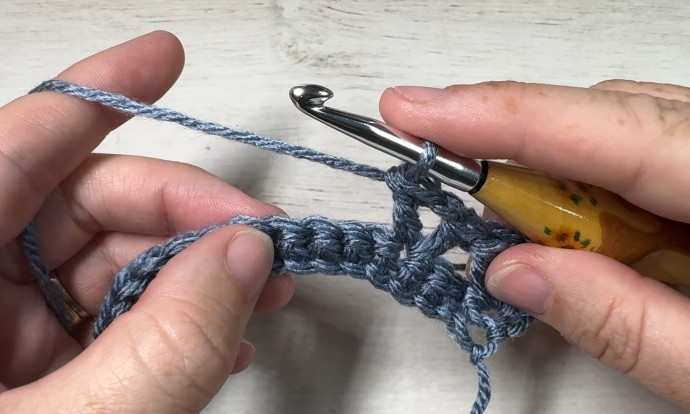
Row Two: Beg CL in the 1st st, Ch 2, CL in the same st, *sk the next 3 sts, v-st in the next st, sk the next 3 sts, CL Shell in the next st; Rpt from * across to the final st, (CL, ch 2, CL) in the final st, ch 4 (counts as dc, ch-1), turn.
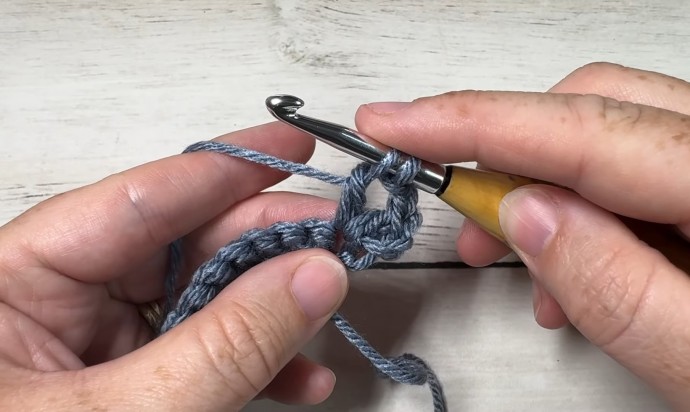
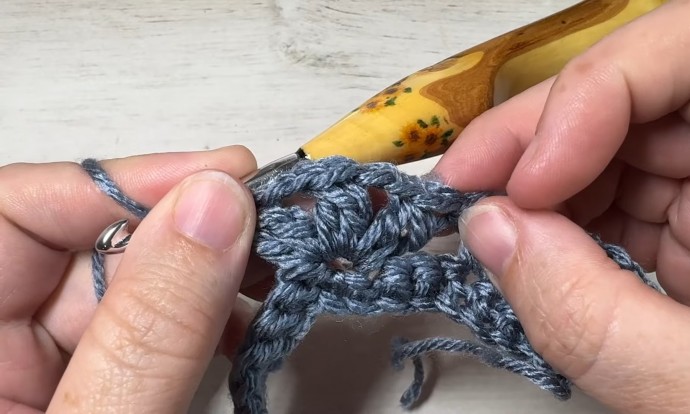
Row Three: Dc in the same st, *CL Shell in the next ch-1 sp, v-st in the middle CL of the next CL shell; Rpt from * across, Ch 2 (counts as the start of the next Beg CL), turn.
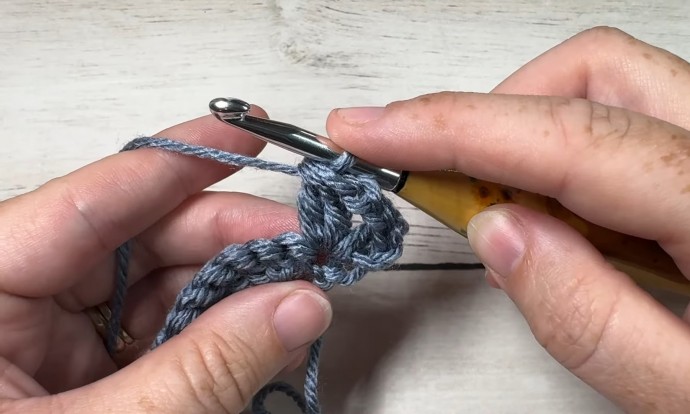
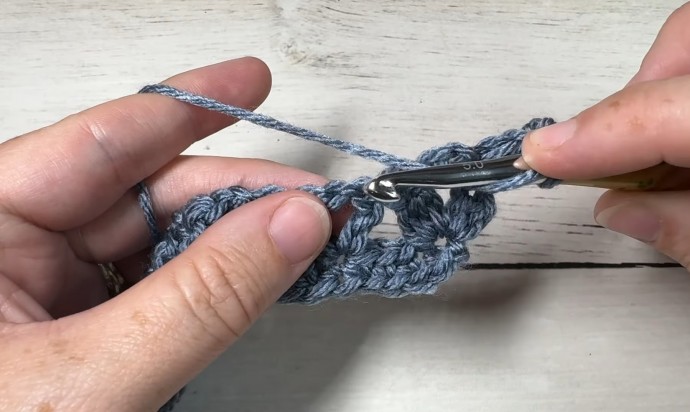
Row Four: Beg CL in the 1st st, Ch 2, CL in the same st, *v-st in the middle CL of the next CL shell, CL Shell in the next ch-1 sp; Rpt from * across to the final st, (CL, ch 2, CL) in the final st, ch 4 (counts as dc, ch-1), turn.
And that’s it!
For the rest of the pattern simply repeat rows 3 and 4 for the pattern. Fasten off, weave in your ends.