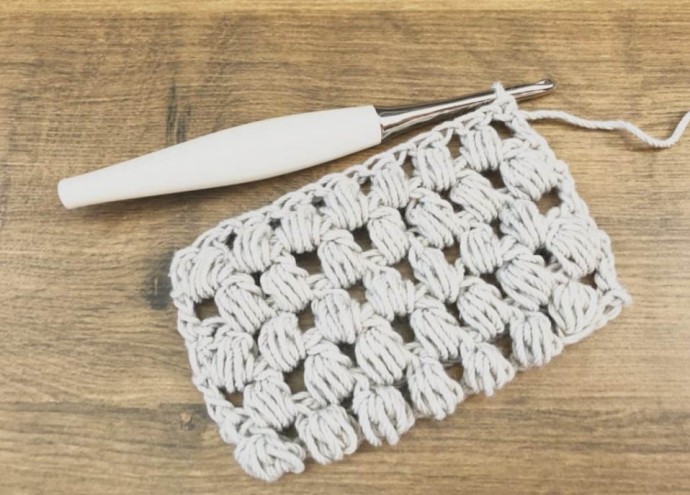
How to Crochet the Pineapple Cluster Stitch Photo Tutorial

At first glance, it’s difficult to tell the difference between bobbles, puff stitches, and even this pineapple cluster stitch. The thing that sets the pineapple cluster apart from other similar stitches is how you finish each stitch. At some point, in puffs and bobbles you’re pulling the yarn through all the loops to complete the stitch. Then you might chain one, or not (but that’s another topic and tutorial entirely), and move on. A pineapple cluster finishes slightly differently. With this stitch, you pull through all but the last 2 loops. Then you yarn over and pull through those last two loops. This creates a little top to the puffy body part of the stitch. These are all very technical terms here.
I suppose that’s how this cluster stitch resembles a pineapple? And how it got its name.
Learn how to crochet the Pineapple Cluster Stitch with this photo tutorial.
Materials:
- Any weight yarn, in this tutorial I’m using a #4 medium worsted weight yarn, Furls Whims Merino
- Crochet hook compatible with your yarn. I’m using a 5.5mm (I) Furls Odyssey Ergonomic Hook.
Abbreviations:
- Ps-Pineapple Cluster Stitch
- rep-repeat
- st(s)-stich(es)
- yo-yarn over
Adjustment:
To crochet a different width swatch, you need a stitch multiple of 2, plus 2 more for the foundation chain.
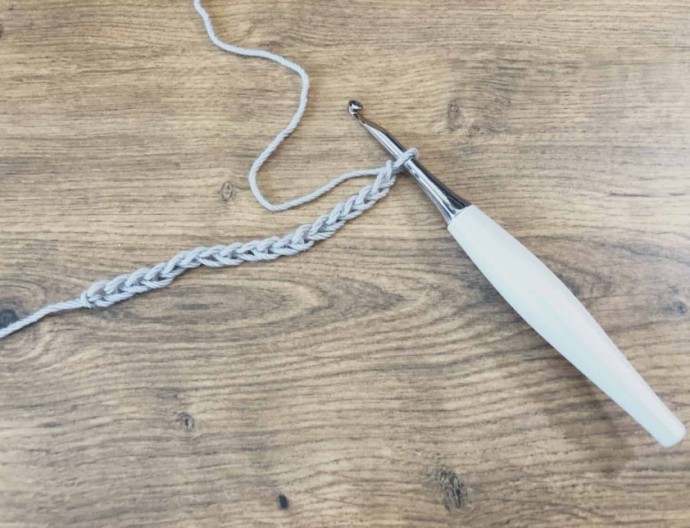
For this tutorial, I chain 18 which yields a 5″ swatch. If I want a smaller width, I can chain 14 and get closer to 4″.
Likewise, for a wider swatch I can chain 36 and get about a 10″ wide sample.
Length is easy to adjust, just crochet more rows of pineapple clusters. It’s an easy one row repeat once you get the technique down.
Instructions:
1. Ch 18,
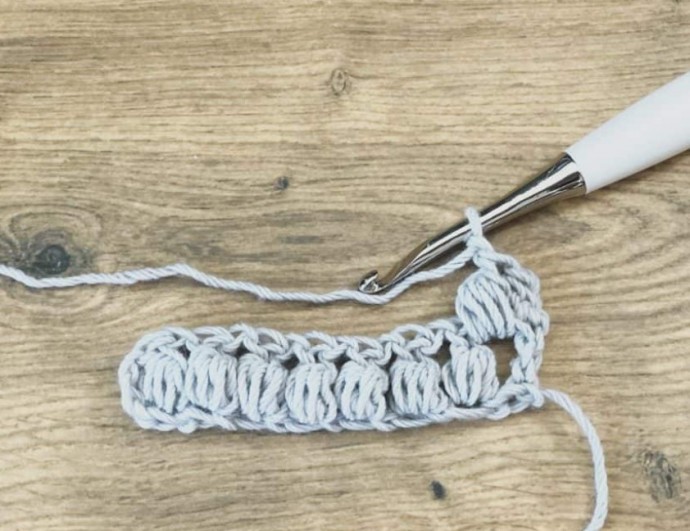
2. (Row 1) Yo, insert your hook in the 4th chain, I'm working into the back bump here. The skipped chs count as the first dc of the row.
3. Yo, and pull up a loop (3 loops on your hook), *{yo + insert your hook into the same ch, yo + pull up a loop} (5 loops on your hook), rep from * again (7 loops on your hook), rep from * one more time (9 loops on your hook).
4. Yo, and pull through 8 of the loops on your hook (that's all but 1 loop), you'll have 2 loops left on your hook.
5. Yo, and pull through those last 2 loops on your hook. One Ps complete.
6. Ch 1, sk the next ch.
7. Rep Steps 2-6 in the next ch.
8. Continue to rep steps 2-6 across the row.
9. Dc in the last ch, and turn your work.
10. Ch 3, or use an alternative dc like I've done here.
11. *{Ps in next ch sp, ch 1, sk the next Ps}
12. Rep from * across to the last stitch,
13. Dc in last st (top of ch), turn.
14. Continue to repeat: Ch 3, *{Ps in next ch sp, ch 1, sk the next Ps} rep from * across the row, dc in last st, turn.


