How to Crochet the Tinsel Stitch Tutorial

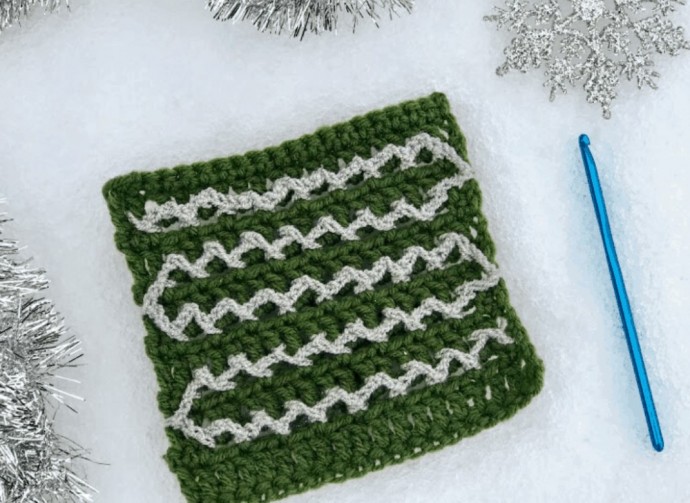
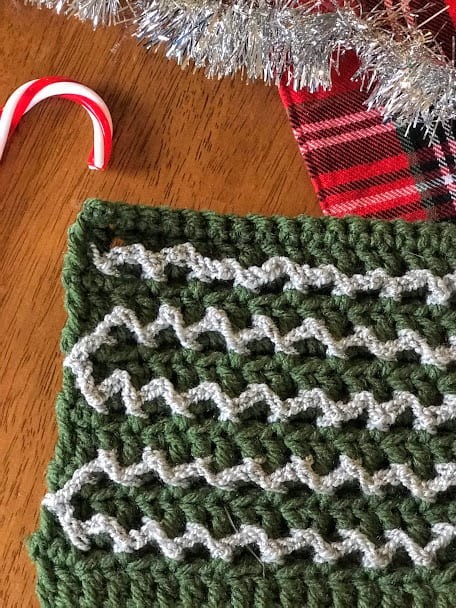
Meet the Tinsel Stitch. This stitch uses the surface crochet technique!
Although this design is especially great for the Christmas season, you can easily change up the color scheme to create a summery project as well.
Learn how to crochet the Tinsel Stitch with this tutorial.
Before beginning surface crochet, there are a few terms you need to know:
Background Square: this is the piece of fabric we will begin with making for each stitch pattern. It is usually a simple square using either sc or dc. I have added some rows that include chain spaces because we will work around these when we do the surface crochet.
Ch/Sc Rows: These are the rows I mentioned above! I will need to refer to them within the stitch patterns as ch/sc rows, because we will work our surface crochet mostly in these rows. As I said before, they are not just straight sc, but sc with chain loops.
Materials:
You can potentially use ANY yarn and hook for this stitch. However, here’s what I used:
- Worsted Weight Yarn (I used Red Heart Super Saver)
- Sport weight yarn (for “tinsel” – I used Vanna’s Glamour)
- H/5mm hook
- F/3.5mm hook
Notes:
- Stitch pattern is multiple of 2+1
- Ch 3 at beginning of rows counts as dc
- Ch 1 at beginning of rows does NOT count as sc
Instructions:
With MC, fsc a multiple of 2+1 (to start with a chain stitch, you’ll need a multiple of 2, and then one row of single crochet).
Row 1: Ch 3, dc across, turn.
Row 2: Ch 1, sc in first 2 sc. *Ch 2, sk next dc, sc in next dc. Rep from * until 1 dc left. Sc in last dc, turn.
Row 3: Ch 3, dc in next sc. Dc in ea sc and ch-sp across, turn. Rep rows 2-3 until square is as big as you want.
Last row: Ch 1, sc across, fasten off.
Surface Crochet:
With silver yarn, join with a sc around the post of the second sc from Row 2 (the ch/sc row). *Ch 2, sc around dc from the row above. Ch 2, sc around the post of next sc from Row 2. You have now finished one “zigzag”.
Rep from * across the row. Basically, you are just creating a zigzag pattern by working in the sc from the Ch/Sc row, alternating with the dc in the row above, all while doing chs in between your sc. Once you work around your last sc, ch 3 and sc around the post of the last dc (make this toward the top of the dc)
Ch 3, and turn your work upside down so that you will be able to work your way across again from the opposite direction. Now sc around the post of the first sc from row 4 (the next ch/sc row). Ch 2, sc around the post of the 3rd dc from row 5.
Continue to repeat these steps across, zig-zagging your chains between dc and sc. When you get to the end of this row, you will do the same thing, just turning your square back around the right way again. Keep zig-zagging across the square until you’ve gone across all the sc/ch rows!
I hope you have enjoyed learning how to crochet the Tinsel Stitch.

