Herringbone Ribbing Crochet Stitch Photo Tutorial

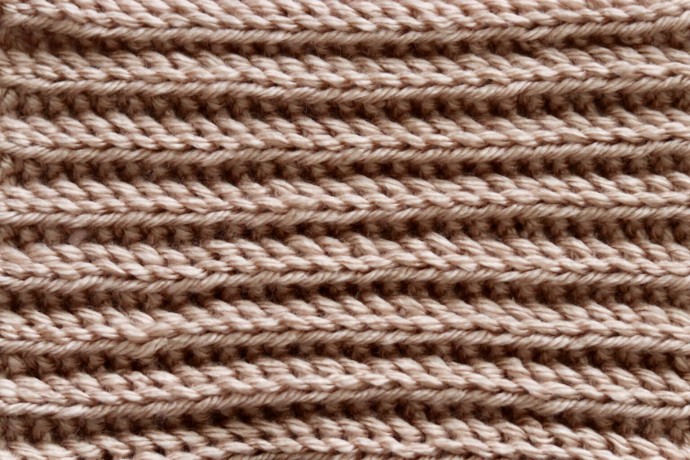
If you are looking for an easy crochet stitch pattern that looks like knit, the Herringbone Ribbing Crochet Pattern is it!
I love the knit look and feel. Knit stitches have a nice stretch and feel to them. They look cozy and have a homey feel. Sometimes it is hard to recreate that look in crochet and many times to get the look slip stitches are necessary.
Of, course slip stitches are not everyone’s favourite because they can be tight and therefore more challenging to work. But in this Herringbone Ribbing Stitch, no slip stitches are necessary!
Learn how to crochet the Herringbone Ribbing Stitch with this photo tutorial.
Abbreviations
- Ch – Chain Stitch
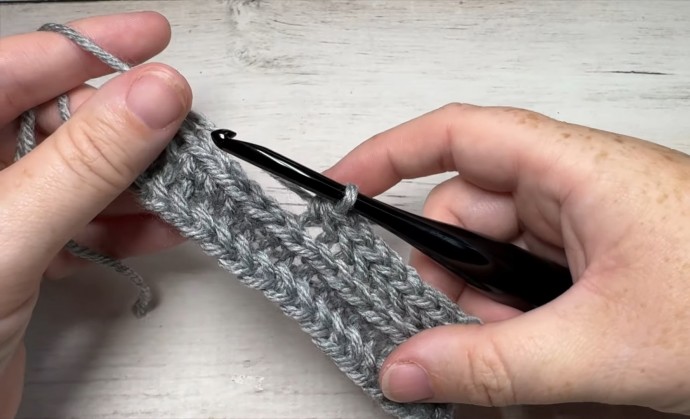
- Hsc – Herringbone Single Crochet (Insert your hook through loop on the front of the post of the previous st, insert your hook into the next stitch, yarn over and draw up a loop, yarn over and draw through all three loops on your hook. Herringbone Single Crochet made.)
- Rpt – Repeat
- Sc – Single Crochet Stitch
- Sl St – Slip Stitch
- Yo – Yarn Over
Notes
- This stitch is worked in rows in this tutorial and it may be worked in one colour or many. I will be working this pattern in a single colour.
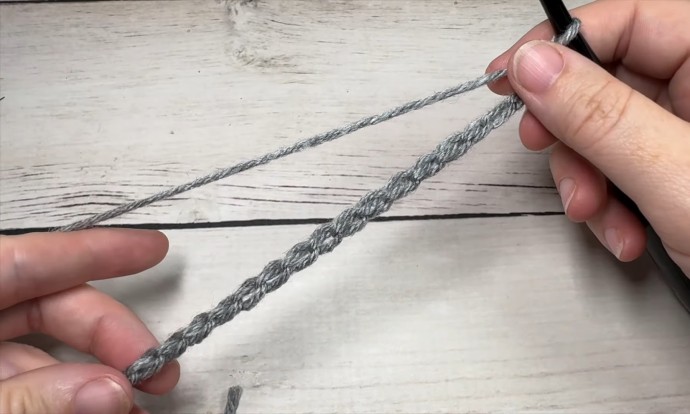
- To begin make a slip knot and make a foundation chain. For this stitch you may use any number of stitches for your foundation chain. For example, ch 31.
Instructions
Row One: Sc in the 2nd ch from your hook, hsc in the next st and in each st across. Ch 1, turn.
Row Two: Sc in the 1st st, working in the blo hsc in the next st and in each st across. Ch 1, turn. (NOTE: in the final st, you may work under the blo or under both loops. This is really up to you!)
And that’s it!
For the rest of the pattern simply repeat row two. Fasten off, weave in your ends.


