How to Crochet the Ribbed Herringbone Stitch Photo Tutorial

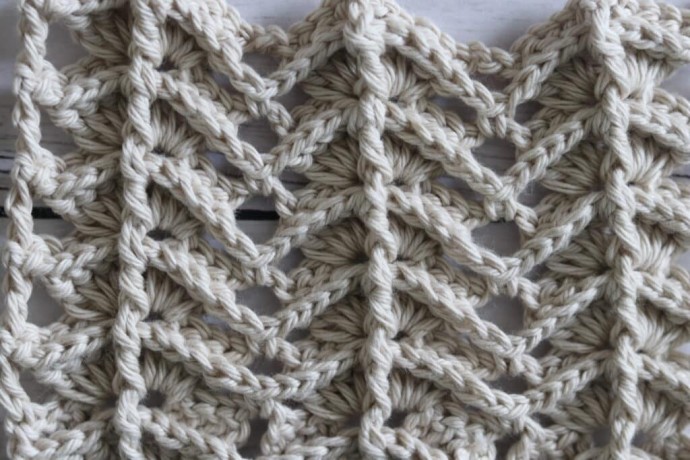
The Ribbed Herringbone Stitch is a textured stitch that resembles a classic herringbone stitch but with a ridge that runs vertically through it.
The textured ridge not only gives the stitch more texture, but also a little more interest and stability. I really love its look and believe it would be a great candidate for crochet projects like tops and shawls.
Learn how to crochet the Ribbed Herringbone Stitch with this photo tutorial.
Materials:
- worsted weight yarn 100% cotton yarn
- 5 mm crochet hook
Stitches and Abbreviations:
- Bpdc – Back Post Double Crochet
- Ch – Chain Stitch
- Dc – Double Crochet
- Fpdc – Front Post Double Crochet
- Fpsc – Front Post Single Crochet
- Rpt – Repeat
- Sc – Single Crochet Stitch
- Sl St – Slip Stitch
- Yo – Yarn Over
Pattern Notes:
- This stitch is worked in rows in this tutorial and it may be worked in one colour or many. I will be working this pattern in a solid colour.
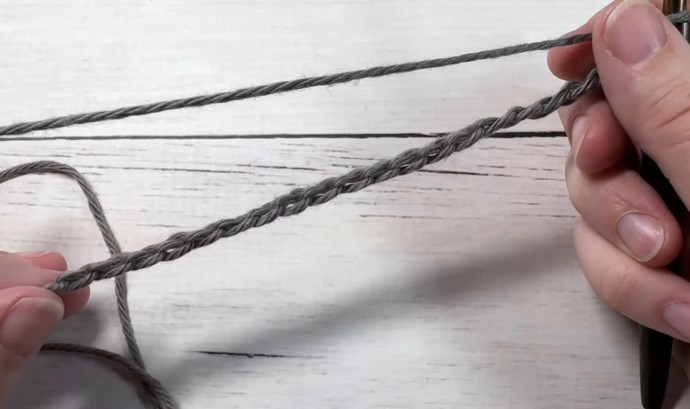
- To begin make a slip knot and make a foundation chain. For this stitch you will need a multiple of ten chains, plus one (10+1) for your foundation chain.
The Ribbed Herringbone Stitch Pattern:
To begin, you will work your foundation chain. For example, work 31 chains.
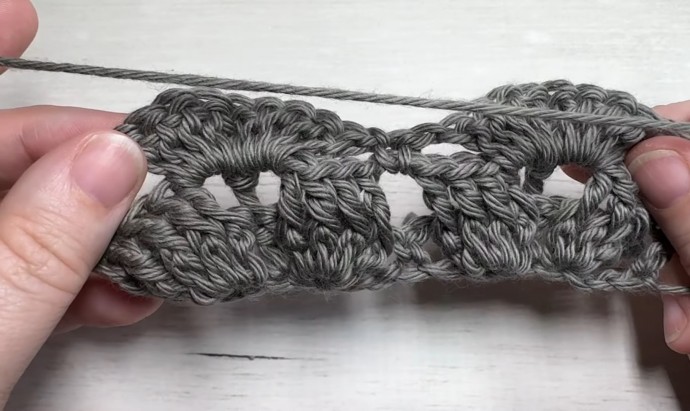
Row One: 4 dc in the 6th ch from your hook, dc in the next st, 4 dc into the next st, *ch 1, sk the next 3 sts, sc in the next st, ch 1, sk the next 3 sts, 4 dc in the next st, dc in the next st, 4 dc in the next st; rpt from * across, sk the next 2 sts, dc in the final st, ch 1, turn.
Row Two: Sc in the 1st st, *fpdc in each of the next 4 dc, ch 1, bpdc in the next st, ch 1, fpdc in each of the next 4 sts, ch 2; rpt from * across, sc in the top of the turning ch, ch 4, turn.
Row Three: 4 dc in the 1st ch-1 sp, fpdc in the next st, 4 dc in the next ch-1 sp, ch 1, sc in the next ch-2 sp, ch 1, *4 dc in the next ch 1 sp, fpdc in the next st, 4 dc in the next ch-1 sp, ch 1, sc in the next ch-2 sp, ch 1; Rpt from * across ending with a ch 1, dc in the final st, ch 1, turn.
Row Four: Sc in the 1st st, *fpsc in each of the next 4 sts, ch 1, bpdc around the post of the next st, fpsc in each next 4, ch 2, rpt from * across, sc in the 3rd ch of starting ch, ch 4, turn.
And that’s it!
For the rest of the pattern simply repeat rows 3 and 4. Fasten off, weave in your ends.


