How to Crochet the Butterfly Stitch Photo Tutorial

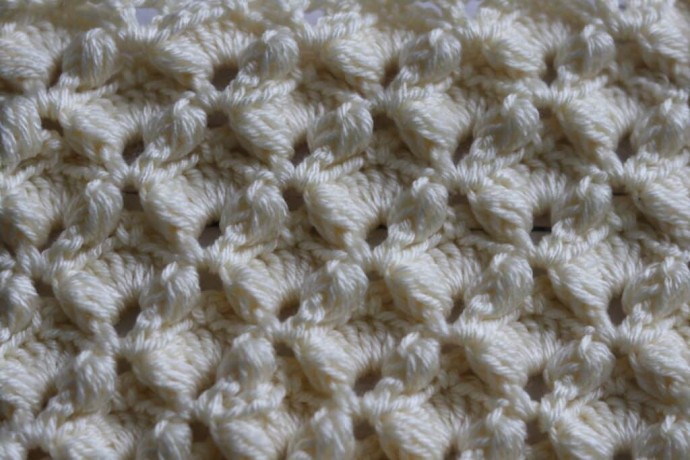
The Butterfly Stitch is a crochet pattern that features some beautiful texture!
The open work in the pattern makes this Butterfly Stitch crochet pattern makes it a perfect candidate for lacy articles such as shawls and cardigans. You may even wish to try it out in a blanket.
The raised texture in this stitch pattern is created by front post puff stitches. They really stand out as they frame double crochet fan stitches. It’s so pretty!
Learn how to crochet the Butterfly Stitch with this photo tutorial.
Stitches and Abbreviations:
- Ch – Chain Stitch
- Dc – Double Crochet
- Fp Puff – Front Post Puff Stitch (Working from front to back around the post of the indicated double crochet, [yo, insert your hook around the post of the indicated stitch, yo and draw up a loop] three times. Yo and draw through all 7 loops on your hook. Front Post Puff Stitch Made.)
- Rpt – Repeat
- Sc – Single Crochet Stitch
- Sl St – Slip Stitch
- Yo – Yarn Over
Pattern Notes:
This stitch is worked in rows in this tutorial and it may be worked in one colour or many. I will be working this pattern in a solid colour.
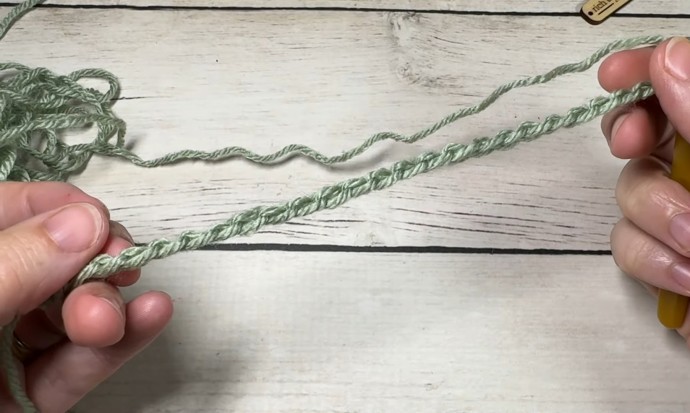
To begin make a slip knot and make a foundation chain. For this stitch you will need a multiple of 6 + 2 stitches for your foundation chain.
For example, ch 26.
Butterfly Stitch Crochet Pattern:
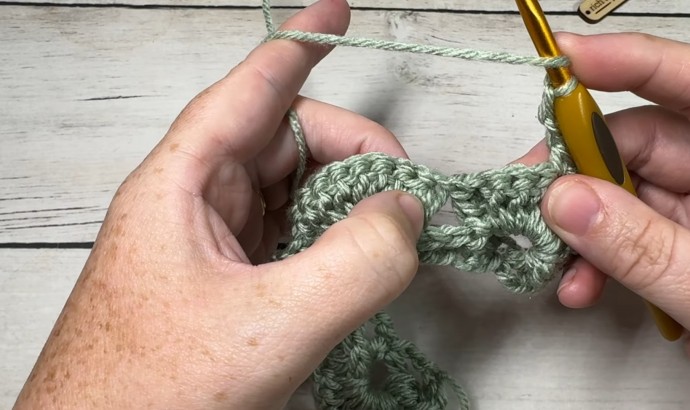
Row One: Sc in the 2nd ch from your hook, *ch 2, sk the next 2 sts, (dc, ch 2, dc) in the next st (this forms a v-stitch), ch 2, sk the next 2 sts, sc in the next st; Rpt from * across, ending with a sc in final st. Ch 3, turn.
Row Two: *Fp puff around the post of the next dc, ch 1, 7 dc in the next ch-2 sp, fp puff around the post of the next dc, ch 1, sk the next sc; Repeat from * all the way across, dc in the final sc. Ch 4 (counts as a dc, ch-1), turn.
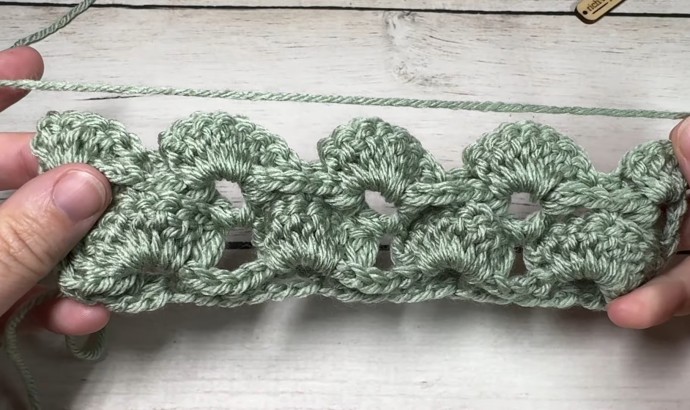
Row Three: Dc in the 1st st, ch 2, *sk the next 3 dc, sc in the next dc, ch 2, sk the next 3 dc, v-st in the next space between the next two puff stitches, ch 2; Rpt from * across, ending with a [dc, ch 1, dc] in the final st. Ch 3, turn.
Row Four: 3 dc in the 1st ch-1 sp, fp puff around the post of the next dc, ch 1, *fp puff around the post of the next dc, ch 1, 7 dc in the next ch-2 sp, fp puff around the post of the next dc, ch 1: Rpt from * across, ending with a fp puff around the post of the final dc, ch 1, 3 dc in the final ch-1 sp, dc in the top of the turning ch. Ch 1, turn.
Row Five: Sc in the 1st st, *ch 2, sk the next 3 dc, v-st in between the next 2 fp puff sts, ch 2, sk the next 3 dc, sc in the next dc; Rpt from * across, sc in the final st. Ch 3, turn.
And that’s it!
For the rest of the pattern simply repeat rows 2-5 for as long as you would like. Fasten off, weave in your ends.


