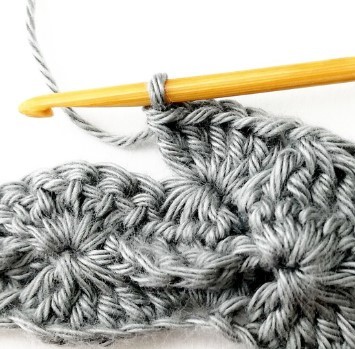
The Chinese Puzzle Stitch Photo Tutorial
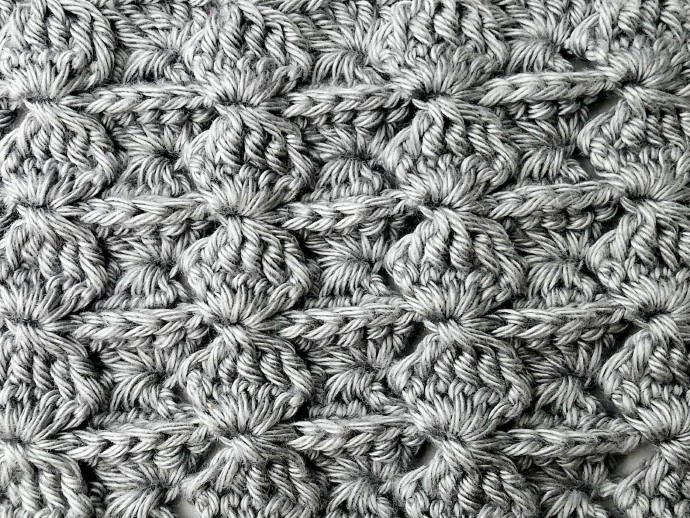
The Chinese puzzle stitch is a repeat of two rows. The fabric has a beautiful texture. This stitch looks very similar on both sides.
Learn how to crochet the Chinese Puzzle Stitch with this photo tutorial.
Materials
- Hjertegarn DIAMOND mercerized cotton 100% 8/4 50g, color: 361 (grey)
- 2.0 mm hook
Instructions
Row 1
1. Start by chaining a multiple of seven plus four. You will start working in the fourth chain from your hook.
2. So, make a double crochet in the fourth chain from your hook.
3. Then make another double crochet in the same stitch.
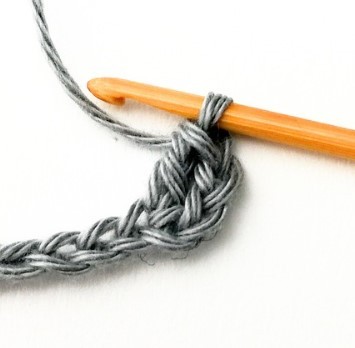
4. Next you will make a double crochet five together (dc5tog) working in the next five stitches. So, yarn over.
5. Insert your hook in the next stitch and yarn over.
6. Pull the yarn through. Now you have three loops on your hook.
7. Yarn over.
8. Pull the yarn through the first two loops. Now you have two loops on your hook. The first leg of the dc5tog is ready.
9. Yarn over.
10. Insert your hook in the next stitch and yarn over.
11. Pull the yarn through. Now you have four loops on your hook.
12. Yarn over and pull the yarn through the first two loops. Now you have three loops on your hook. The second leg is ready.
13. Then make the third leg: yarn over, insert your hook in the next stitch, yarn over, pull the yarn through, yarn over and pull the yarn through the first two loops on your hook.
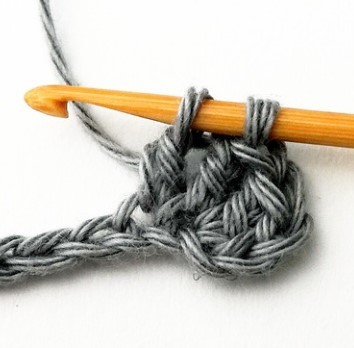
14. In the same way make the fourth leg in the next stitch. Now you have five loops on your hook.
15. Make the fifth leg in the next stitch. Now you have six loops on your hook.
16. Then yarn over and pull the yarn through all six loops. You have just made a dc5tog!
17. Chain one.
18. Skip one stitch and make five double crochets in the next stitch.
19. Then make a dc5tog working in the next five stitches.
20. Chain one.
21. Skip one stitch and make five double crochets in the next stitch.
22. Continue working in the same way until the end of the row. At the end of the row chain one as usually.
23. Then skip one stitch and make three double crochets in the last stitch.
Row 2
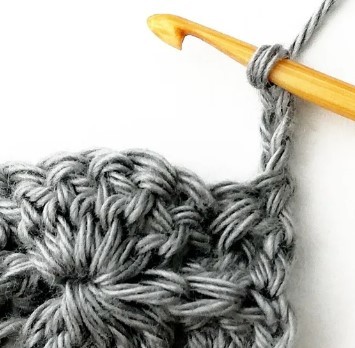
24. Chain three and turn your work around. Chain three counts as a stitch.
25. Next you will make a front post double crochet two together working in the next two stitches. So, yarn over.
26. Insert your hook bringing the post of the second stitch to the front.
27. Yarn over.
28. Pull the yarn through. Now you have three loops on your hook.
29. Yarn over.
30. Pull the yarn through the first two loops. Now you have two loops on your hook. The first leg is ready.
31. Yarn over.
32. Insert your hook bringing the post of the next stitch forward and yarn over.
33. Pull the yarn through. Now you have four loops on your hook.
34. Yarn over.
35. Pull the yarn through the first two loops on your hook. Now you have three loops on your hook. The second leg is ready.
36. Yarn over and pull the yarn through all three loops. You have just made a front post double crochet two together!
37. Then make five double crochets in the next stitch.
38. Next you will make a front post double crochet five together (fpdc5tog) working in the next five stitches. So, yarn over.
39. Insert your hook bringing the post of the next stitch to the front and yarn over.
40. Pull the yarn through. Now you have three loops on your hook.
41. Yarn over and pull the yarn through the first two loops on your hook. The first leg is ready.
42. Make the second leg in the next stitch: yarn over, insert your hook bringing the post of the next stitch to the front, yarn over, pull the yarn through, yarn over, pull the yarn through the first two loops on your hook. Now you have three loops on your hook.
43. Make the third leg in the next stitch working in the same way as before. Now you have four loops on your hook.
44. Then make the fourth leg in the next stitch. Now you have five loops on your hook.
45. Make the fifth leg in the next stitch. Now you have six loops on your hook.
46. Yarn over and pull the yarn through all six loops on your hook. You have just made a fpdc5tog!
47. Chain one.
48. Then repeat: make five double crochets in the next stitch, make fpdc5tog working in the next five stitches and chain one.
49. Work in the same way until the end of the row. At the end of the row make the last five double crochets as usually.
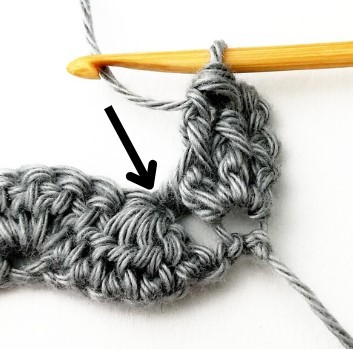
50. Next you will make a fpdc2tog working in the last two double crochets of the previous row. So, make the first leg working in the next stitch.
51. Make the second leg working in in the next stitch.
52. Yarn over and pull the yarn through both loops on your hook.
53. Then make a double crochet in the turning chain.
Row 3
54. Chain three and turn your work around.
55. Make two double crochets in the next stitch.
56. Then make a fpdc5tog working in the next five double crochets.
57. Chain one.
58. Make five double crochets in the next stitch.
59.Then repeat: make a fpdc5tog in the next five stitches, chain one, make five double crochets in the next stitch.
60. Continue working in the same way until the end of the row. At the end of the row chain one as usually.
61. Then make two double crochets in the fpdc2tog of the previous row.
62. Make a double crochet in the turning chain. For the rest of the pattern repeat rows 2-3.
Done!

