How to Crochet The Royal Ridge Stitch Photo Tutorial

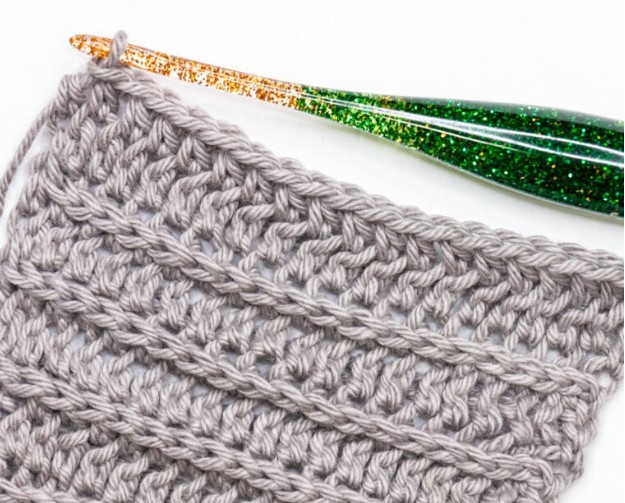
The Royal Ridge Crochet Stitch is a simple crochet stitch to do with a beautiful texture that mimics the look of knit stitches and creates a horizontal bar across our fabric. It’s a double-sided fabric (both sides look the same), making it a great stitch for scarves and blankets.
Learn how to crochet the Royal Ridge Stitch with this photo tutorial.
Materials
- Bernat Maker (Bulky, 5) yarn
- 6 mm crochet hook
Abbreviations
- CH = Chain
- HDC = Half Double Crochet Stitch
- ST = Stitch
Stitch Multiple
Chain any number of stitches + 1 for the turning chain.
Notes
- This stitch is worked in turned rows for this tutorial. In order for the ridges to show on both sides of your fabric, you need to turn your work at the end of each row.
- The Chain 1 at the beginning of each row never counts as a stitch
Instructions
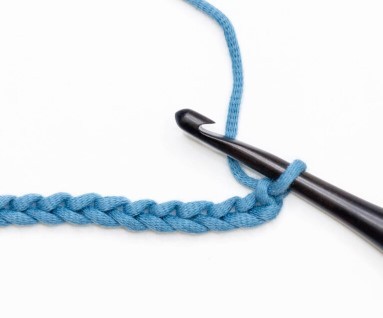
Foundation Chain: Chain any number of chain stitches needed for your project + 1 for the turning chain.
Row 1: Half Double Crochet (HDC) in the 2nd ch from the hook and each chain across. CH 1 (never counts as a stitch) and turn your work.
Row 2: Half Double Crochet in the 1st ST under both top loops and in each stitch across.
Row 3: CH 1 and turn your work. HDC in the third loop of the first stitch and each stitch across.
Repeat Row 3 until your project reaches your desired size. Fasten off and weave in your ends.
That’s it!


