How To Crochet The Strawberry Stitch Photo Tutorial

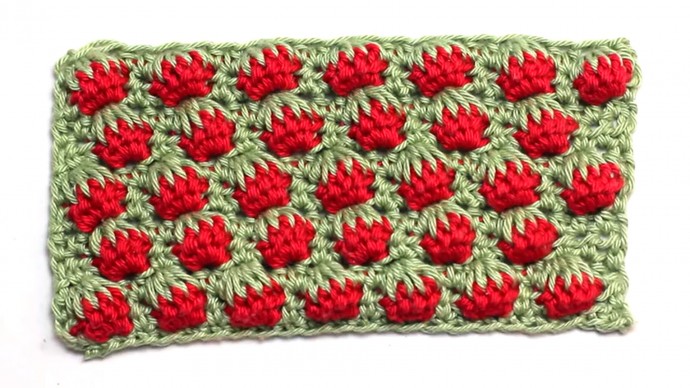
Spring at this very moment is in full bloom, which is always accompanied by one of my favourite times of year; strawberry season!The Strawberry Stitch has such a quirky and whimsical texture to it. You’ll immediately notice how this combination of stitches creates an adorable “strawberry patch” design, as the green resembles the leaves, whilst the red bobbles are the delicious berries… Just imagine all those vibrant baby blankets and pretty scarves you could crochet using this stitch?
Learn how to crochet the Strawberry Stitch with this tutorial.
MATERIALS
- Yarn – Sirdar Cotton DK (8ply)
- Crochet Hook – 4.50mm (7)
STITCHES & ABBREVIATIONS
- st(s) – stitch(es)
- ch – chain stitch
- sl st – slip stitch
- sc – single crochet
- hdc – half double crochet
- hdc5tog – half double crochet 5 together
FOUNDATION
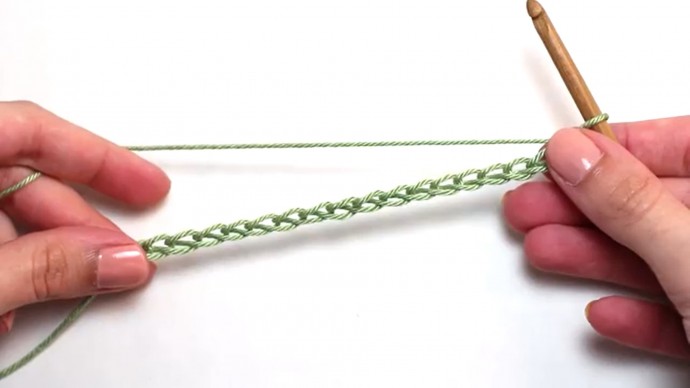
Using green yarn, chain in multiple of 3 + 3.
PATTERN
Row 1: Ch1, sc in 2nd ch from your hook. 1 sc into every ch st, all the way to the end. Turn your work.
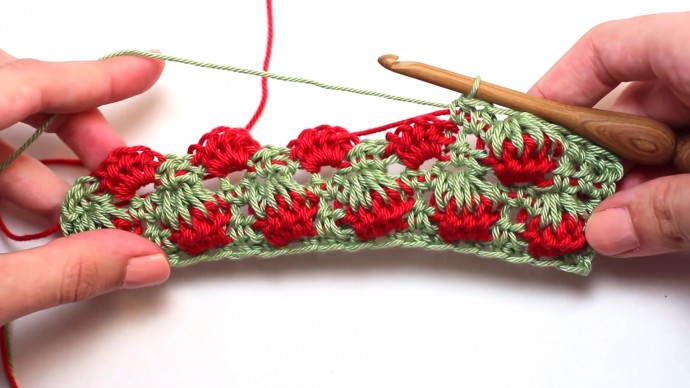
Row 2: Ch1, 1 hdc in same st (change yarn colour to “Red” on this st). *5 hdc in next st, making sure to carry “Green” yarn by working over the strand (change yarn colour to “Green” on the 5th hdc). 1 hdc in the next 2 sts, making sure to carry “Red” yarn by working over the strand (change yarn colour to “Red” on 2nd hdc). Repeat from the * all across. 5 hdc in next st, making sure to carry “Green” yarn by working over the strand (change yarn colour to “Green” on the 5th hdc). 1 hdc in the next st, making sure to carry “Red” yarn by working over the strand. Turn your work.
Row 3: Ch1, 1 hdc in same st, making sure to carry “Red” yarn at the back of your work by working over the strand. *1 hdc5tog (across the 5 “Red” hdc from previous row), 1 hdc in next 2 sts, making sure to continue carrying “Red” yarn at the back of your work. Repeat from the * all across. 1 hdc5tog (across the 5 “Red” hdc from previous row), 1 hdc in next st, making sure to continue carrying “Red” yarn at the back of your work. Turn your work.
Row 4: Ch1, 1 hdc in same st. 1 hdc in next st (change yarn colour to “Red” on this st). *5 hdc in next st, making sure to carry “Green” yarn by working over the strand (change yarn colour to “Green” on the 5th hdc). 1 hdc in the next 2 sts, making sure to carry “Red” yarn by working over the strand (change yarn colour to “Red” on 2nd hdc). Repeat from the * all across. 5 hdc in next st, making sure to carry “Green” yarn by working over the strand (change yarn colour to “Green” on the 5th hdc). 1 hdc in the next 3 sts, making sure to carry “Red” yarn by working over the strand. Turn your work.
Row 5: Ch1, 1 hdc in same st, 1 hdc in next 2 sts, making sure to carry “Red” yarn at the back of your work by working over the strand. *1 hdc5tog (across the 5 “Red” hdc from previous row), 1 hdc in next 2 sts, making sure to continue carrying “Red” yarn at the back of your work. Repeat from the * all across. 1 hdc5tog (across the 5 “Red” hdc from previous row), 1 hdc in next 2 sts, making sure to continue carrying “Red” yarn at the back of your work. Turn your work.
REPEAT
Row 2 – 5 until you reach your desired length.


