How to Crochet the Twist Stitch Photo Tutorial

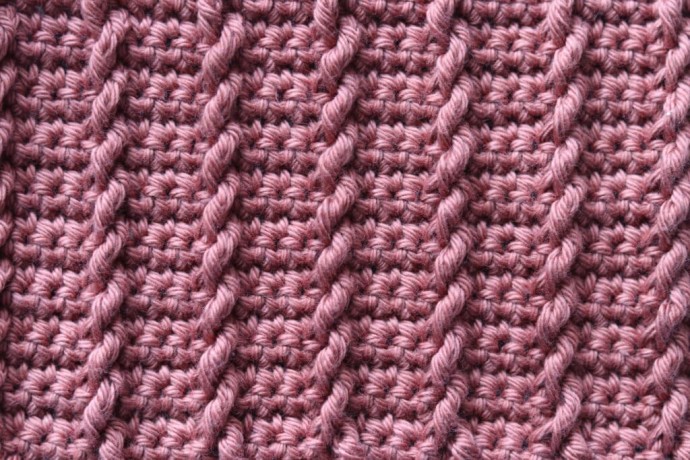
I love the look of the Twist Stitch crochet pattern as the stitch creates what looks like a cord running along the length of the fabric. It’s a really neat looking cable stitch!
And once, you get the stitch set up, it is really easy to continue to work being a two row repeat. If you love the look of crochet cables, but the more complicated ones are intimidating for you, you will certainly want to give this one a try.
There are many possibilities for this Twist Stitch crochet pattern. I’m certainly excited about trying it in a new blanket, but it would also look amazing in sweaters, bags, scarves, winter accessories and more.
Materials:
- Cotton yarn
- 5 mm crochet hook
Stitches and Abbreviations:
- Ch – Chain Stitch
- Dc – Double Crochet
- Fptr – Front Post Triple Stitch (Yarn over twice, bring your hook in front of your work, insert your hook from front to back around the post of the indicated stitch, yarn over and draw up a loop, yarn over and draw through two loops on your hook three times. Front Post Triple Stitch made.)
- Rpt – Repeat
- Sc – Single Crochet Stitch
- Sl St – Slip Stitch
- Yo – Yarn Over
Pattern Notes:
- This stitch is worked in rows in this tutorial and it may be worked in one colour or many. I will be working this pattern in a solid colour.
- To begin make a slip knot and make a foundation chain. For this stitch you will need a multiple of four, plus three (4 + 3) chain stitches for your foundation chain.
The Twist Stitch Pattern:
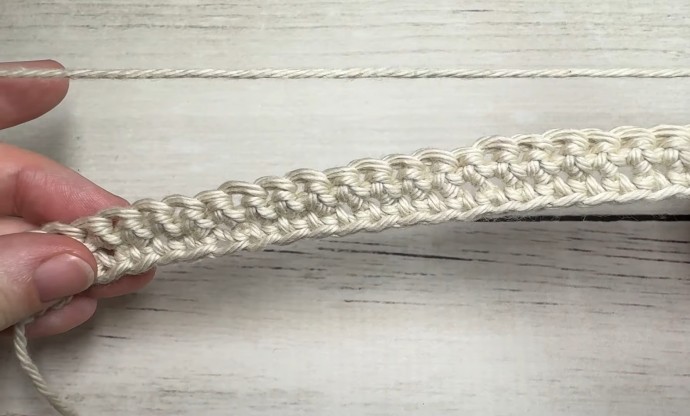
To begin, you will work your foundation chain. For example, work 31 chains.
Row One: Sc in 2nd st and in each st across. Ch 1, turn.
Row Two: Sc in the 1st st and in each st across. Ch 1, turn.
Row Three: Sc in the 1st st and in each st across. Ch 1, turn.
Row Four: Sc in 1st, sc in the next st, fptr in 3rd st 3 rows below, *sk the st in row 3 behind the fptr just worked (you will never work in the stitch of the previous row directly behind the front post st), sc in each of the next 3 sts, fptr in the next st 3 working rows below; Rpt from * across. Ch 1, turn.
Row Five: Sc in the 1st st and in each st across. Ch 1, turn.
Row Six: Sc in 1st, sc in the next st, fptr in 3rd st 3 rows below (this st will be partially tucked in behind the front post stitch below), *sk the st in row 3 behind the fptr just worked (you will never work in the stitch of the previous row directly behind the front post st), sc in each of the next 3 sts, fptr in the next st 3 working rows below; Rpt from * across. Ch 1, turn.
And that’s it!
For the rest of the pattern, simply repeat rows five and six for as long as you would like. Fasten off, weave in your ends.


