How to Crochet the Nickel Stitch Photo Tutorial
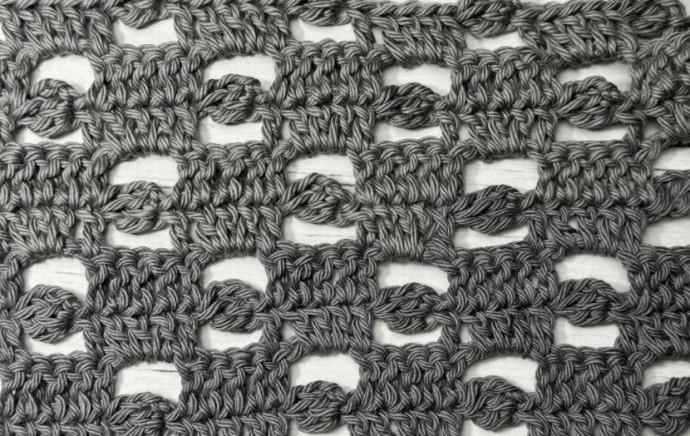
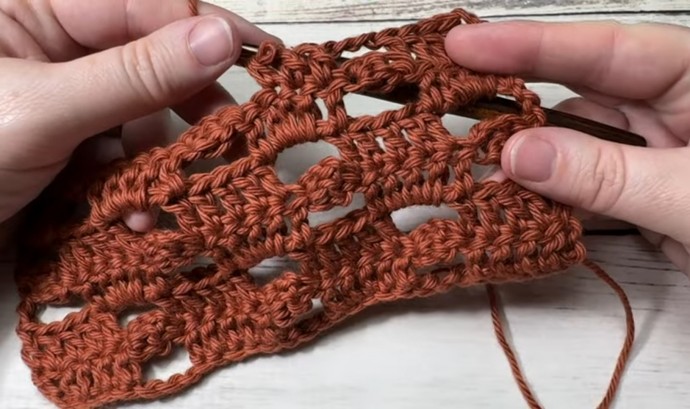
The Nickel Stitch is a wonderfully easy crochet stitch to work featuring staggered rows of double crochet stitches and cluster stitches.
I’ve called this stitch pattern the “Nickel Stitch” simply because the little cluster stitches remind me of the Nickel which is the five cent piece in Canadian/American currency. It’s a fun little design!
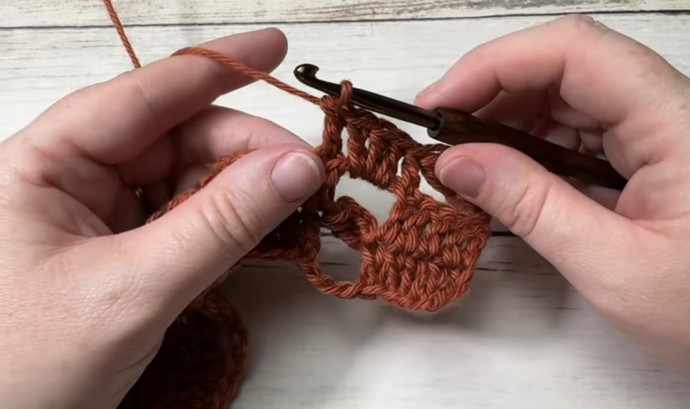
As I mentioned above the Nickel Stitch is made up of rows that feature blocks of double crochet stitches set in between little cluster stitches. The cluster stitches are also very easy to work being comprised of a chain of three stitches and then essentially a double crochet two stitches together that is all worked into one stitch. You will see what I mean in this photo tutorial.
Materials
- worsted weight yarn
- 5 mm crochet hook
Abbreviations
- Ch – Chain Stitch
- CL – Cluster Stitch (Ch 3, [yo, insert your hook into the 3rd ch from your hook, yo and draw up a loop, yo and draw through two loops] twice. Yo and draw through all the loops on your hook. Cluster Stitch Made.)
- Dc – Double Crochet Stitch
- Rpt – Repeat
- Sc – Single Crochet Stitch
- Sl St – Slip Stitch
- Yo – Yarn Over
Notes
- This stitch is worked in rows in this tutorial and it may be worked in one colour or many. I will be working this pattern in one colour.
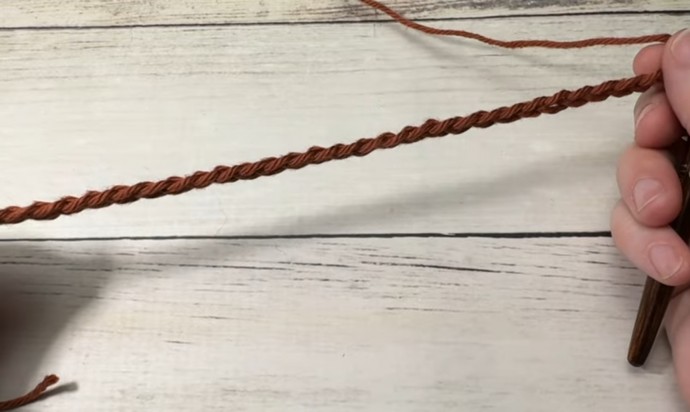
- To begin make a slip knot and make a foundation chain. For this stitch you will need a multiple of eight chains, plus seven (8+7) for your foundation chain. For example, ch 31.
Instructions
Row One: Dc in the 4th ch from your hook (ch-3 counts as a dc here and throughout), dc in each of the next 3 sts, *CL, sk the next 3 sts, dc in each of the next 5 sts; Rpt from * across. Ch 3, turn.
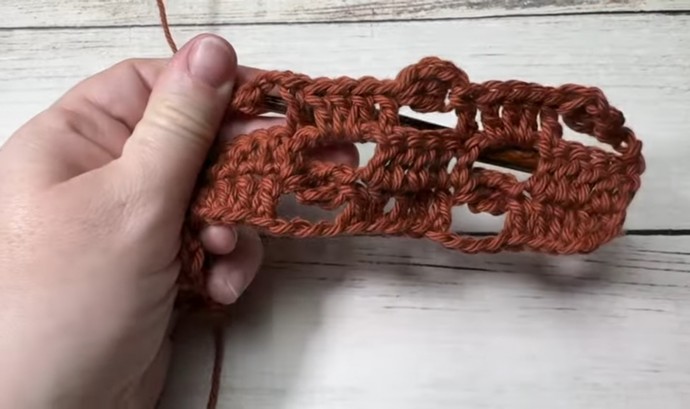
Row Two: Dc in each of the next 4 sts, *ch 3, sk the next Cl, dc in each of the next 5 sts; Rpt from * across. Ch 3, turn.
Row Three: *CL, sk the next 3 sts, dc in the next st, 3 dc in the next ch-3 sp, dc in the next st; Rpt from * across ending with a Cl and a dc in the final st. Ch 6 (counts as a dc and ch-3, turn.
Row Four: Sk the 1st cl, *dc in each of the next 5 sts, ch 3, sk the next cl; Rpt from * across ending with a ch 3, sk the next cl, dc in the final st. Ch 3, turn.
Row Five: Dc in each of the next 4 sts, *cl, sk the next 3 sts, dc in the next st, 3 dc in the next ch-3 sp, dc in the next st; Rpt from * across. Ch 3, turn.
And that’s it!
For the rest of the pattern simply repeat rows two to five, fasten off, weave in your ends.

