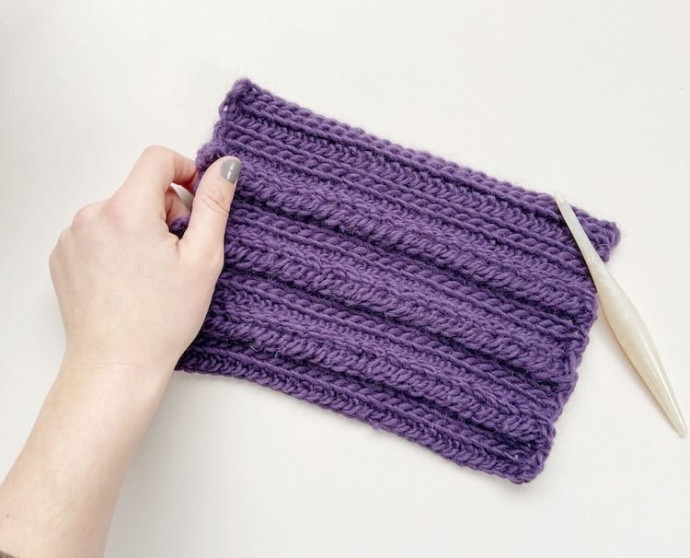
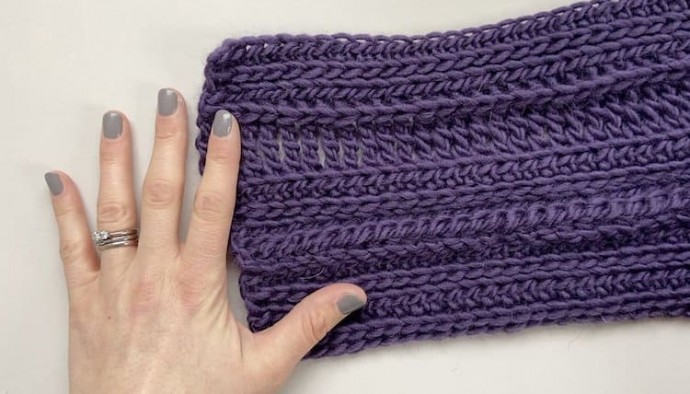
How to Crochet the Braid Stitch Photo Tutorial

Learning how to work a crochet braid isn’t just great for hairstyles, it’s amazing to do with yarn too!
Using just a row of simple long crochet stitches and a twist at the beginning, you can create the most beautiful texture to add to your crochet.
The Crochet Braid Stitch looks similar to a cable stitch and is most definitely easier than it looks, as long as you can crochet a row of long stitches you are almost there. Just add a twist in the first stitch and the rest slot in place so easily.
Let me show you how to do it in this easy Braid Stitch photo tutorial.
Materials
- ReTreat Yarn by WYS
- 6 mm crochet hook
- Tapestry Needle
- Scissors
Instructions
Begin by working a row of triple treble crochet stitches.
Rotate your work so that the side of the row is facing you and select the first stitch.
Using your fingers, twist the stitch so that it is crossed over itself and creates a loop at the top.
Keeping the twist in place, insert your hook through the loop.
Pull the next stitch through the loop you created from the stitch and tighten to secure the braid.
Continue along the row by pulling the next stitch through the loop on your hook and so on.
Finish the row by pulling the last stitch through the loop on your hook.
Turn your work over and sew the last loop onto the back of your work to secure the entire crochet braid.


