How to Crochet the Springtime Stitch Photo Tutorial

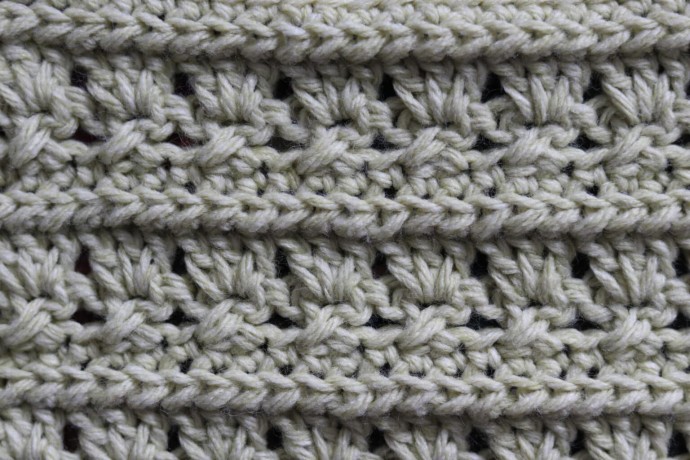
This beautiful Springtime crochet stitch pattern reminds me of Spring with its flower-like clusters. I can imagine it worked in one colour or many!
The Springtime crochet stitch pattern is so easy to work and is created almost entirely in double crochet stitches. It’s very pretty, and I already have a crochet bag that showcases it. I’m so pleased with how it turning out.
In this tutorial today, I will be working this stitch pattern in rows. It is created over a four-row repeat featuring double crochet stitches worked in clusters and crossed. The other stitch that you will see in this pattern is the fun half double crochet slip stitch. I really do love the raised texture that it creates.
Learn how to crochet the Springtime Stitch with this photo tutorial.
Materials
- worsted-weight yarn
- 5 mm (H/8) crochet hook
Abbreviations
- Blo – Back Loop Only
- Ch – Chain Stitch
- Dc – Double Crochet
- Hdc sl st – Half Double Crochet Slip Stitch (Sometimes called the “yarn over slip stitch”: Yo, insert your hook into the next st, yo and draw up a loop pulling it through the 2 loops on your hook. Half Double Crochet Slip Stitch made.)
- Rpt – Repeat
- Sl St – Slip Stitch
- Yo – Yarn Over
Notes
- This stitch is worked in rows in this tutorial and it may be worked in one colour or many. I will be working this pattern in a solid colour.
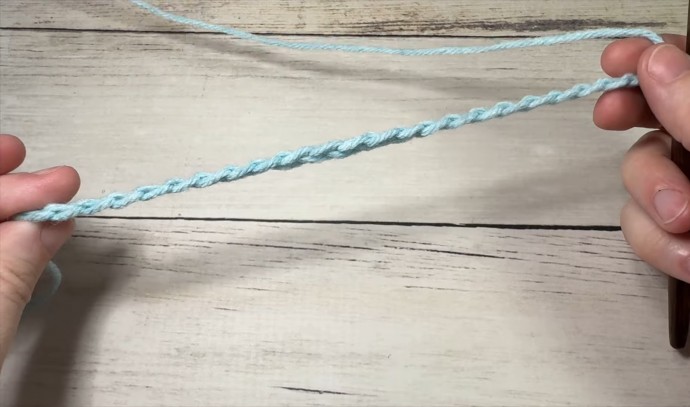
- To begin, make a slip knot and make a foundation chain. For this stitch, you will need a multiple of three stitches for your foundation chain. For example, ch 33.
Instructions
Row One: Sc in the 2nd ch from your hook and in each st across. Ch 1, turn.
Row Two: Hdc sl st in the 1st st and each st across. ch 1, turn.
Row Three: Working in the blo across, sc in the 1st st and in each st across. ch 3, turn.
Row Four: Sk the next 2 sts, *dc in the next st, ch 1, dc back into the first skipped st, sk the next 2 sts; Rpt from * across until 1 st remains, dc in the final st. Ch 3, turn.
Row Five: Work 3 dc in the 1st ch-1 sp, *3 dc in the next ch-1 sp; Rpt from * across to the turning ch, dc in the top of the turning ch. Ch 1, turn.
And that’s it!
For the rest of the pattern, simply repeat rows 2-5 for the pattern. Fasten off, weave in your ends.


